
These homemade Whole Wheat Bagels are crusty on the outside, soft on the inside, and made with five simple ingredients. Check out our Vegan Cream Cheese and Strawberry Chia Seed Jam to spread on these delicious bagels.
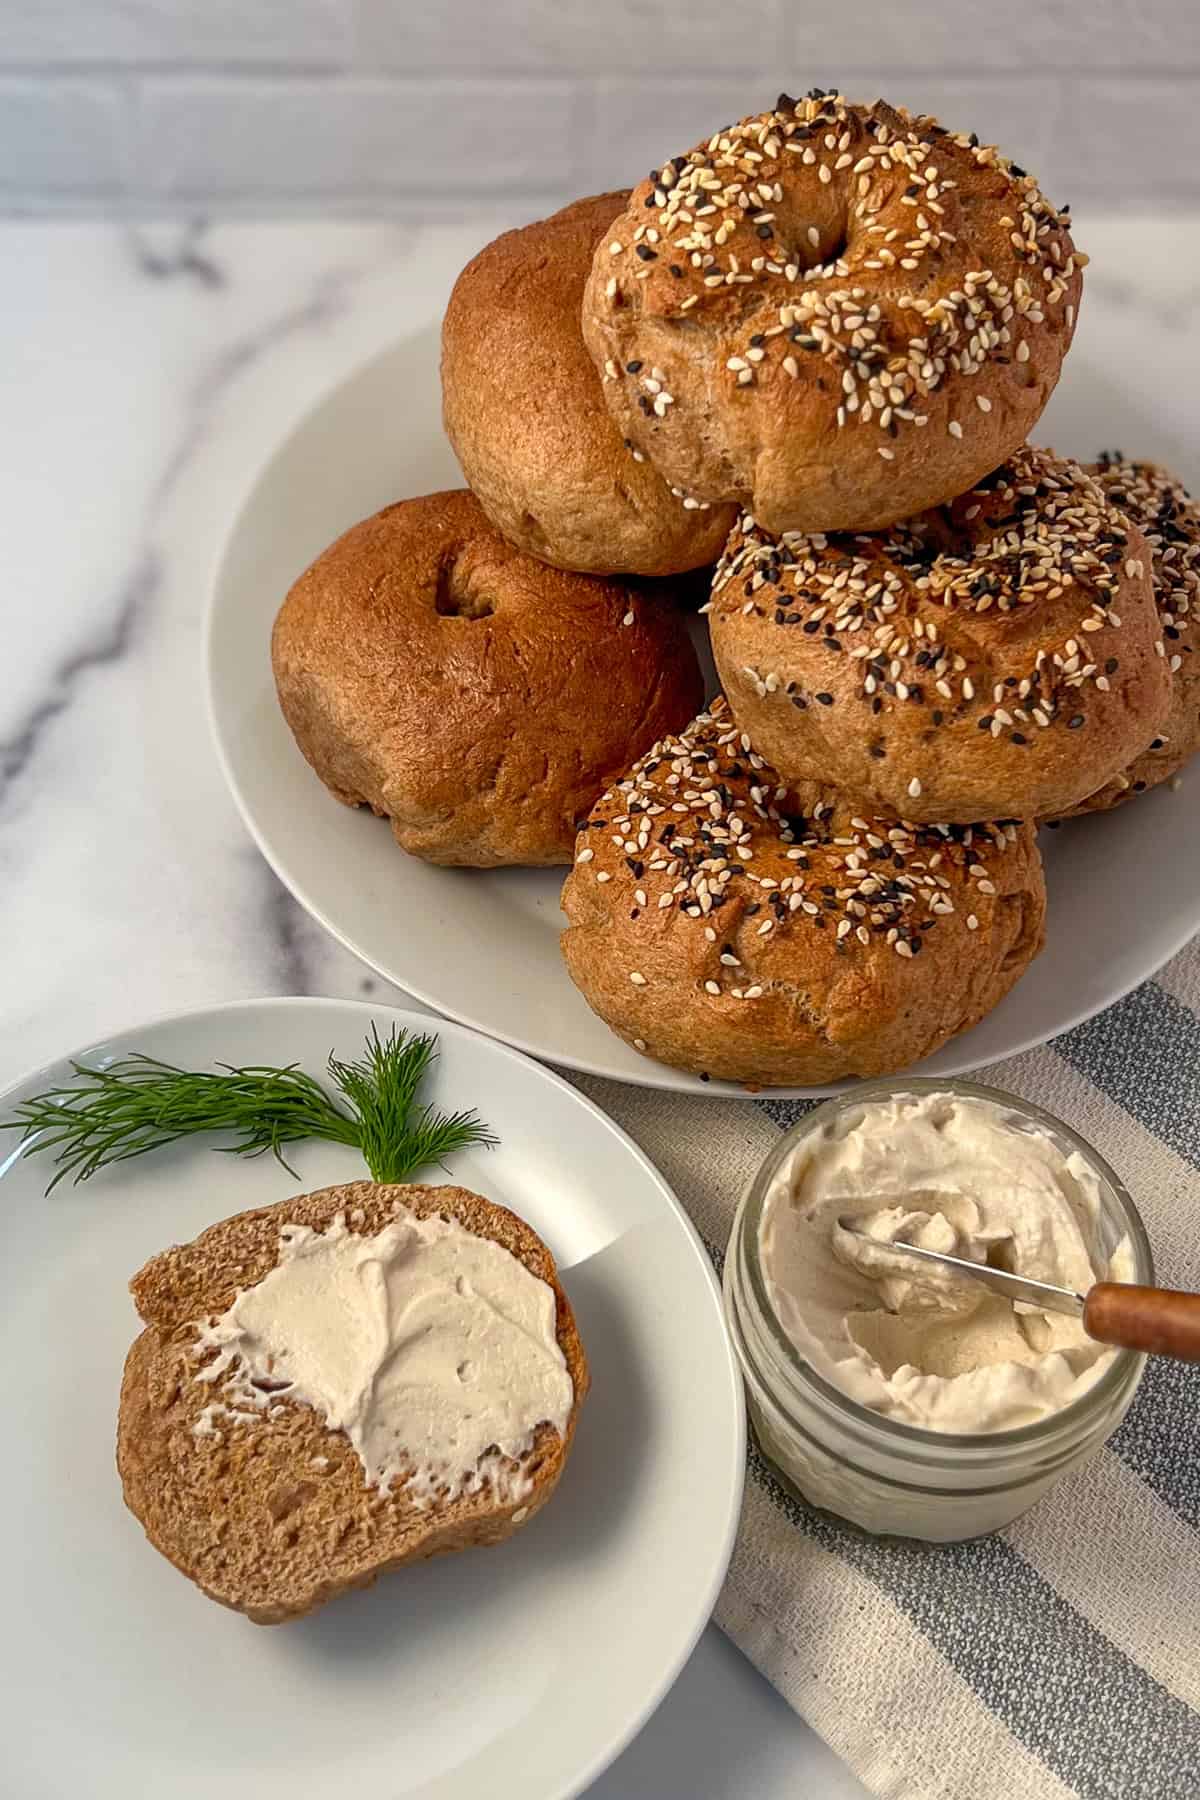
Recipe Quick Look: Homemade Whole Wheat Bagels
- 🕗 Prep Time: 20 minutes plus 1 hour rise time
- 👩🍳 Cook Time (Boil and Bake): 30 minutes
- ⏰ Total Time: 1 hour 50 minutes
- 🍽️ Servings: 8
- ⭐ Difficulty: Moderate – prepare the dough, let it rise, shape the bagels, boil them, and bake.
- 🍴 Diet: 100% whole food, plant-based vegan, oil-free, soy-free, nut-free
Summarize and save this recipe with AI
Why You'll Love These Homemade Whole Wheat Bagels
- Rich in fiber, which supports digestion and promotes a feeling of fullness.
- Good source of B-vitamins, iron, and magnesium, which are important for energy production and overall well-being.
- You control the ingredients, so no added refined sugar, additives, or preservatives.
- Great for meal prep. Make a batch, cook, cool, slice, and freeze.
- Kid-friendly!
Key Ingredients
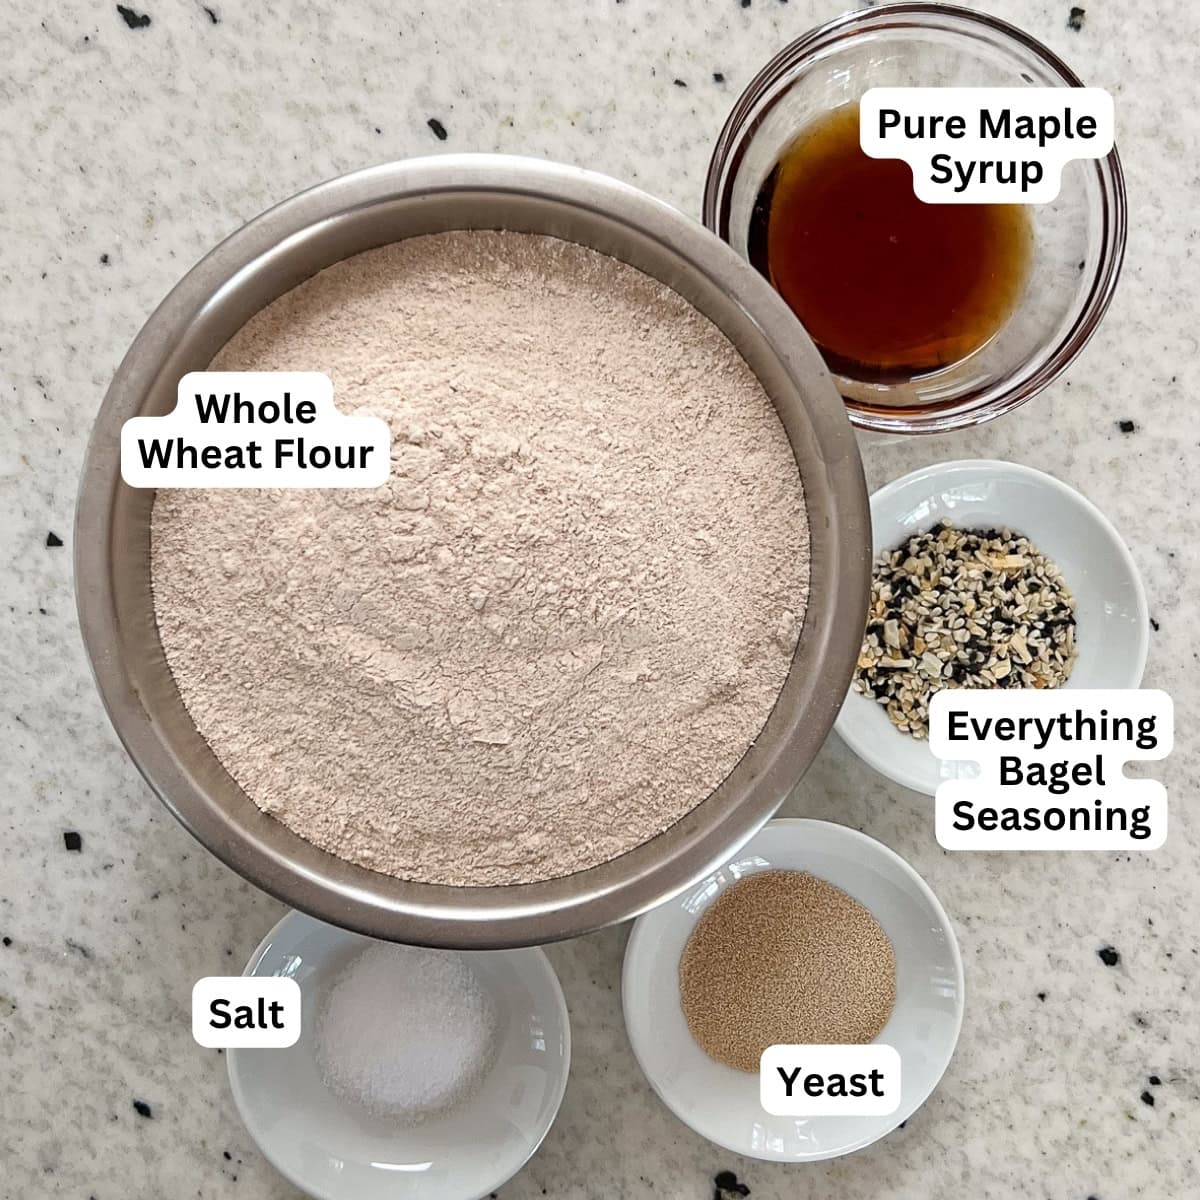
- Whole wheat flour (I used Bob's Red Mill Stoneground Whole Wheat Flour)
- Active dry yeast
- Pure maple syrup
- Salt
- OPTIONAL: Everything bagel seasoning (no salt)
This recipe is a modified version of the vegan bagels made by It Doesn't Taste Like Chicken.
How to Make Homemade Whole Wheat Bagels
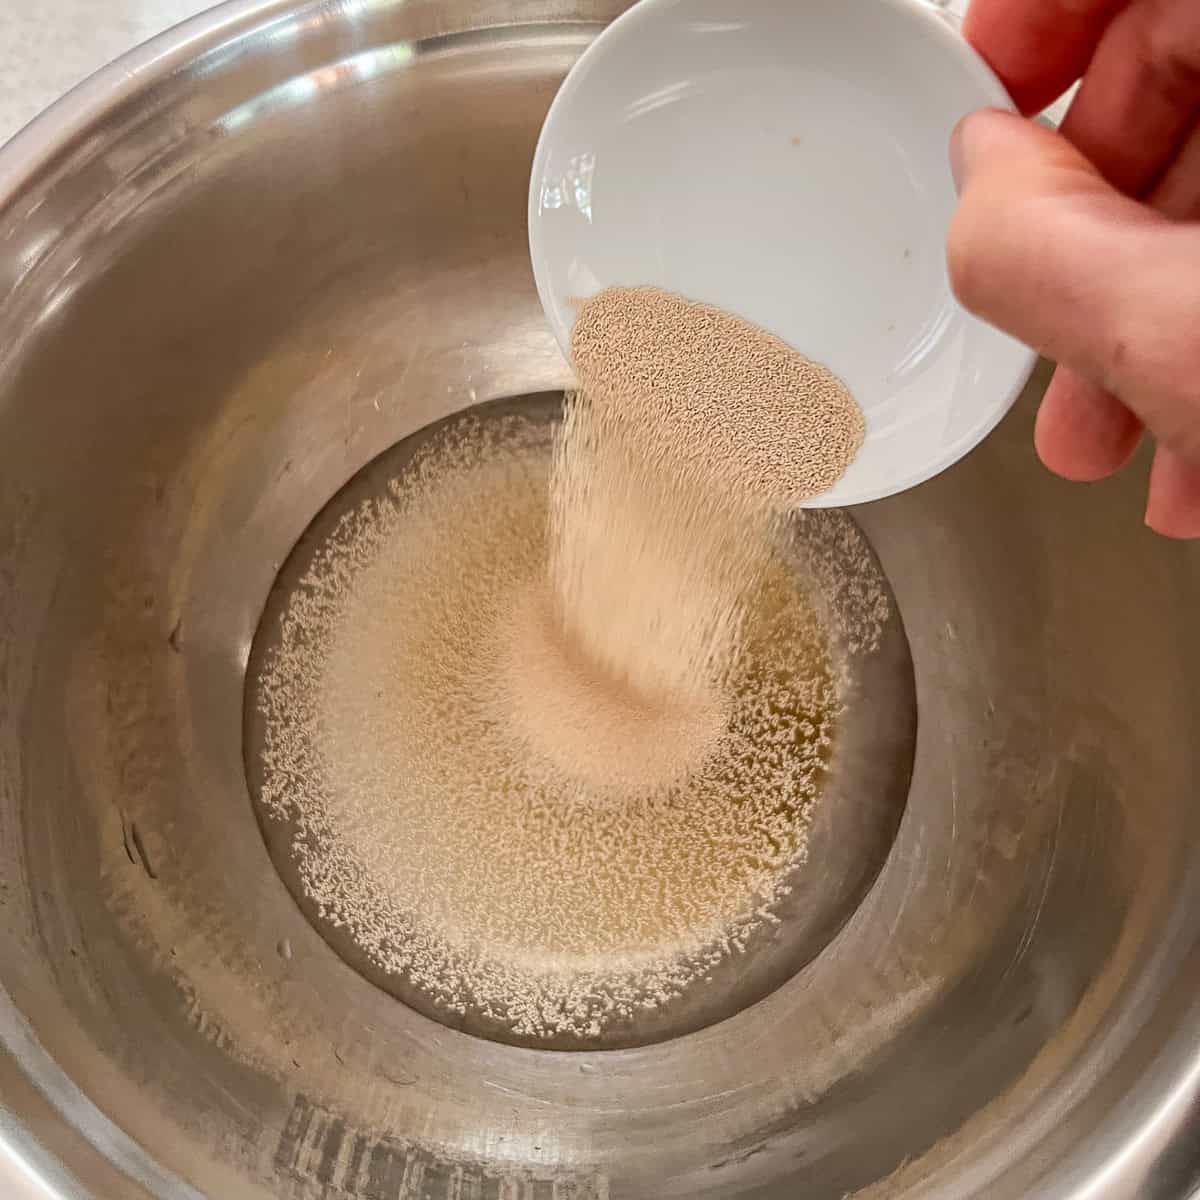
- Step 1: In a large mixing bowl, combine the warm water (about 110°F or 43°C) and maple syrup. Then stir in the yeast.
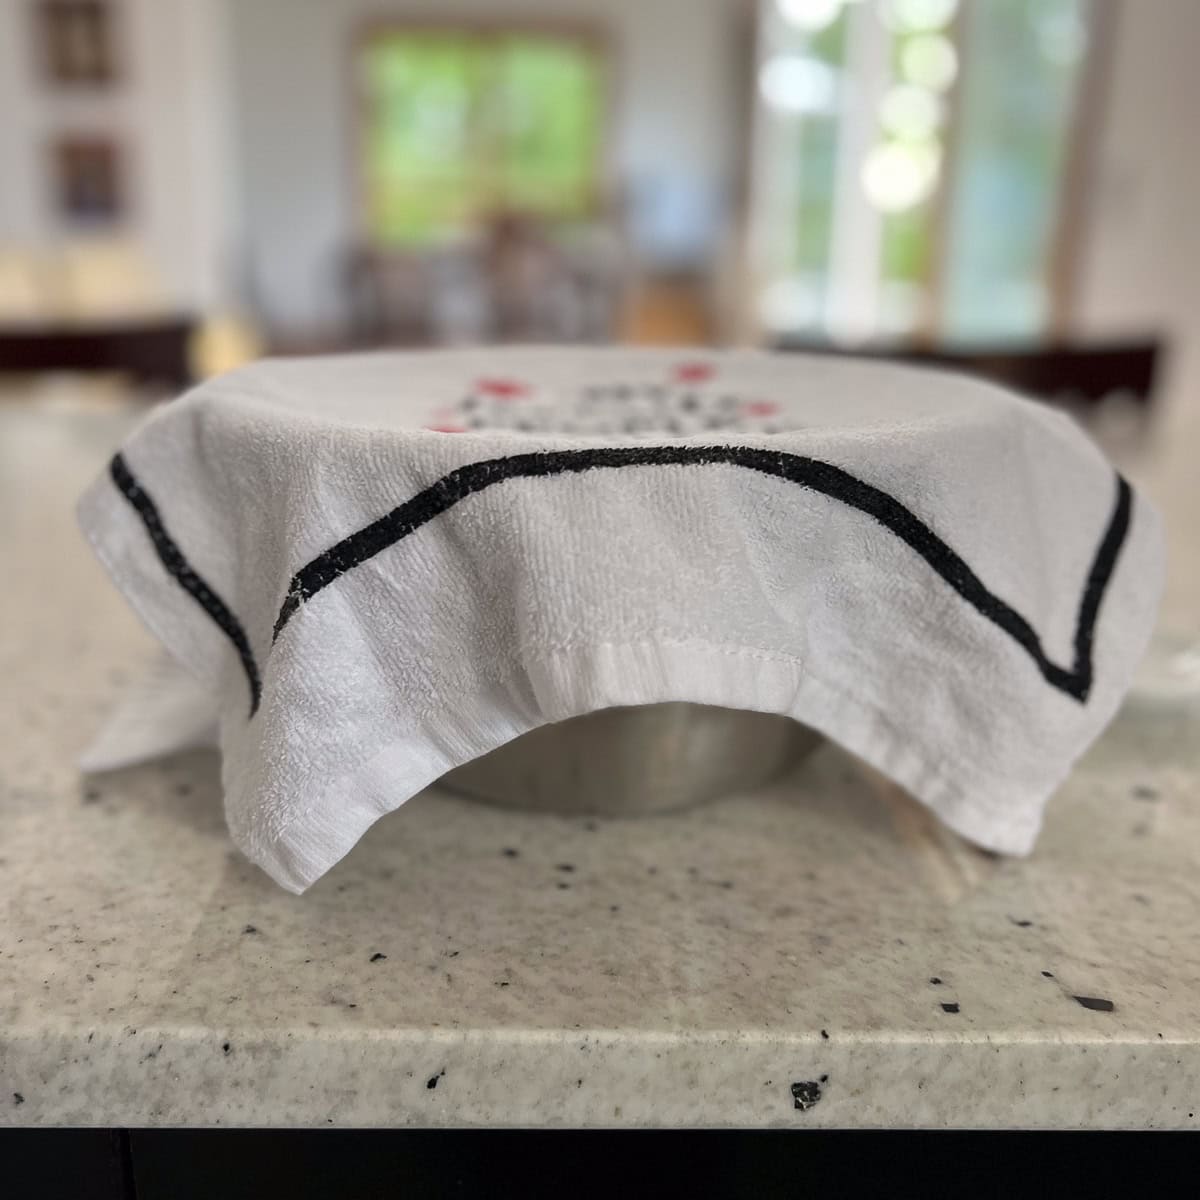
- Step 2: Let it sit, covered with a clean tea towel, for 10 minutes until it becomes frothy. This step is crucial as it activates the yeast, ensuring your bagels rise properly.
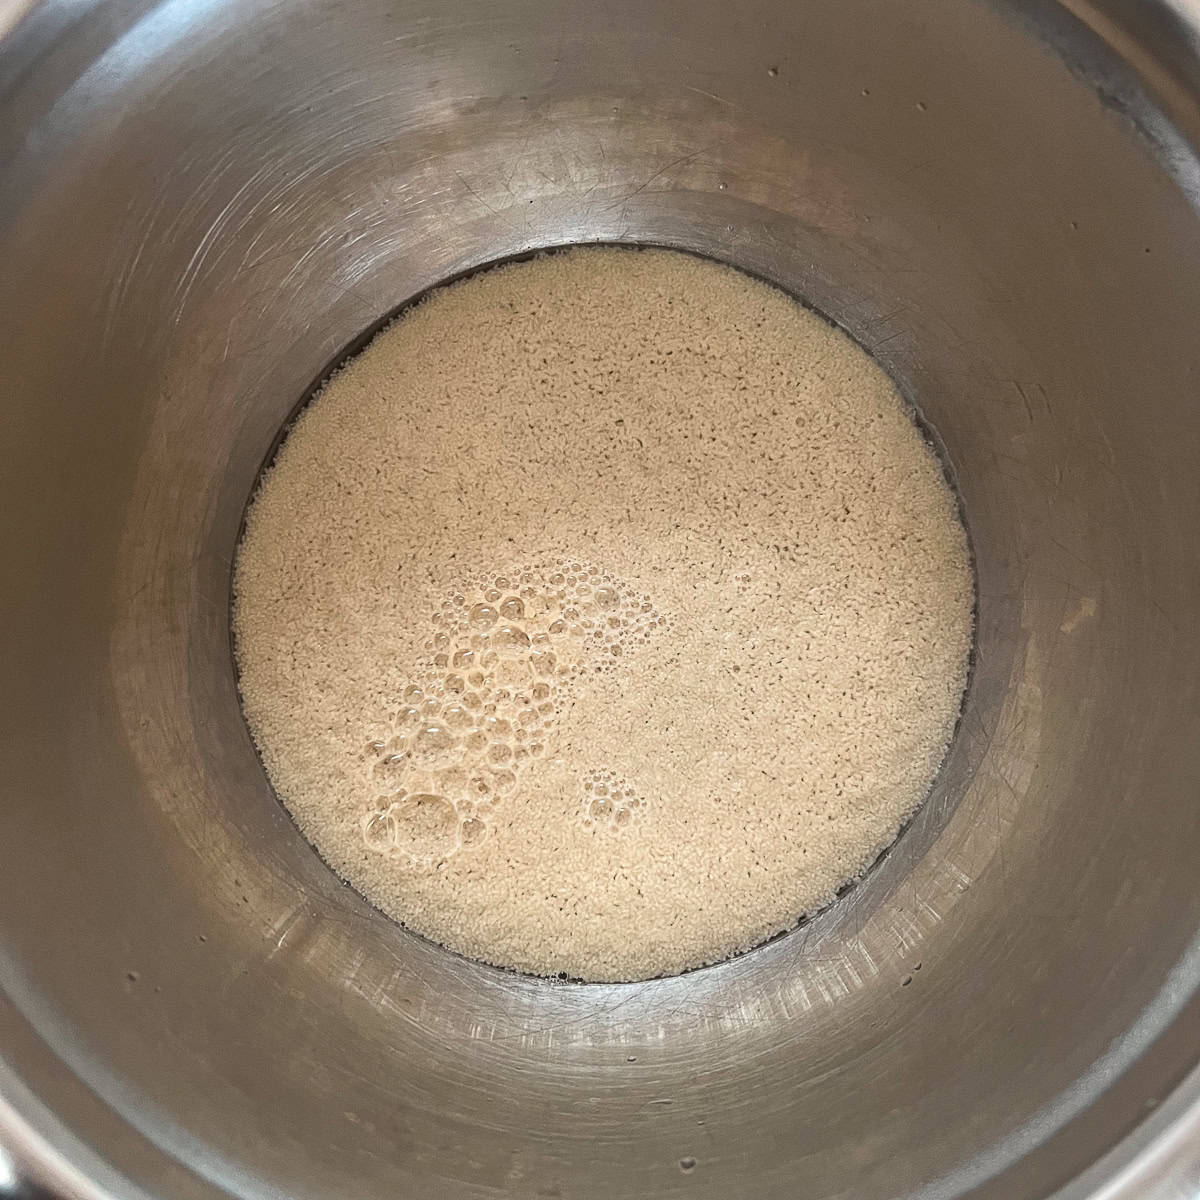
- Step 3: If the yeast is good, the mixture should be frothy and foaming like this. If the mixture isn't frothy, your yeast is stale. You'll need to discard and redo this step with fresh yeast.
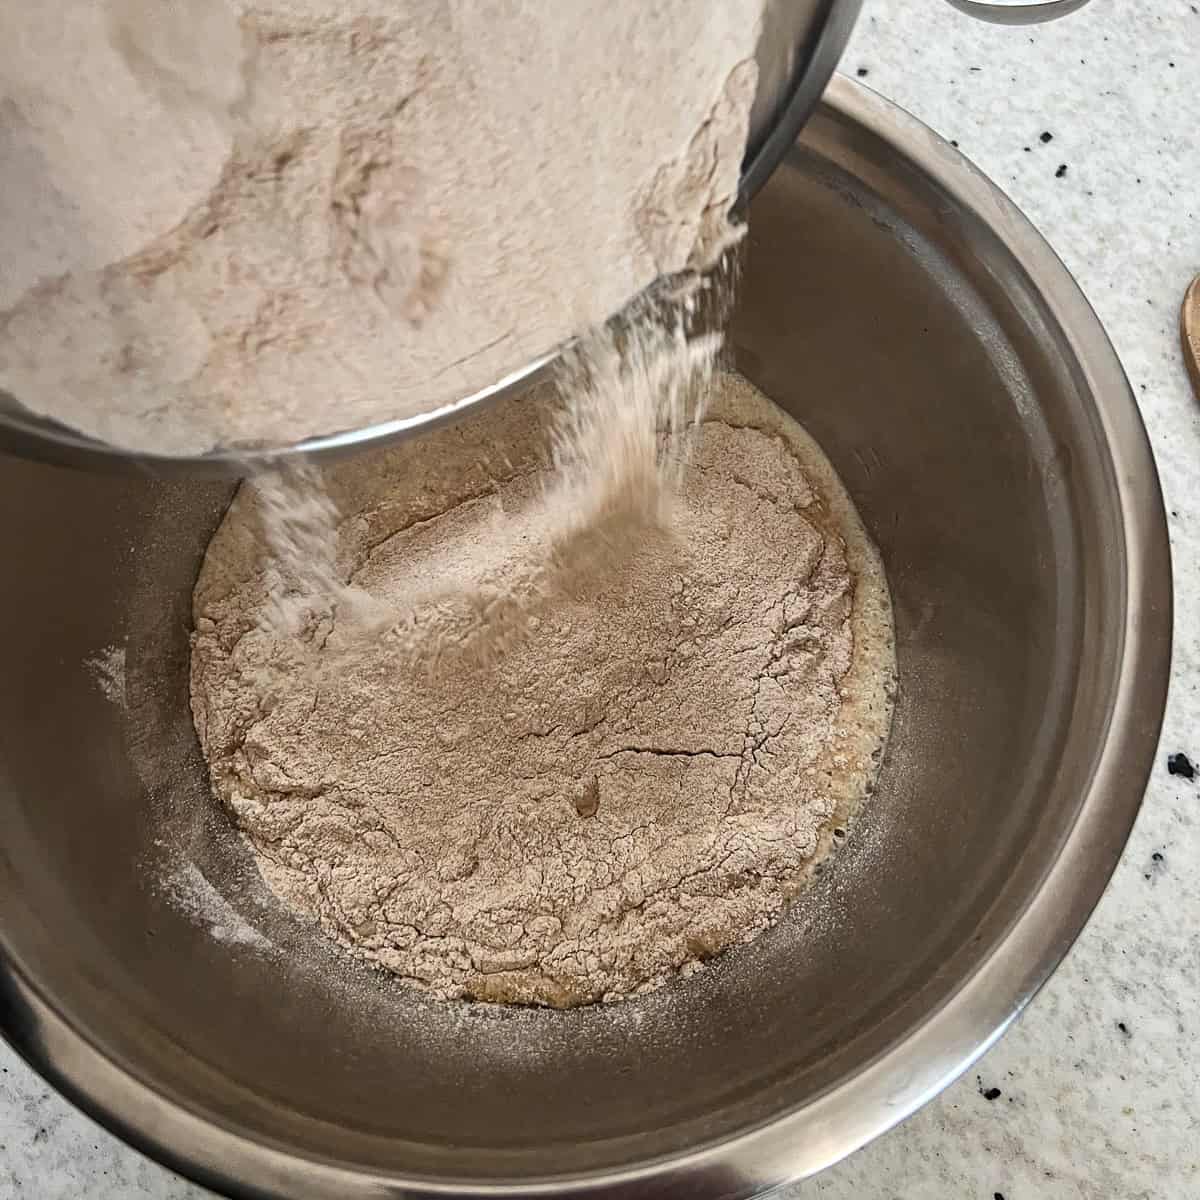
- Step 4: Add whole wheat flour and salt to the bowl with the yeast mixture.
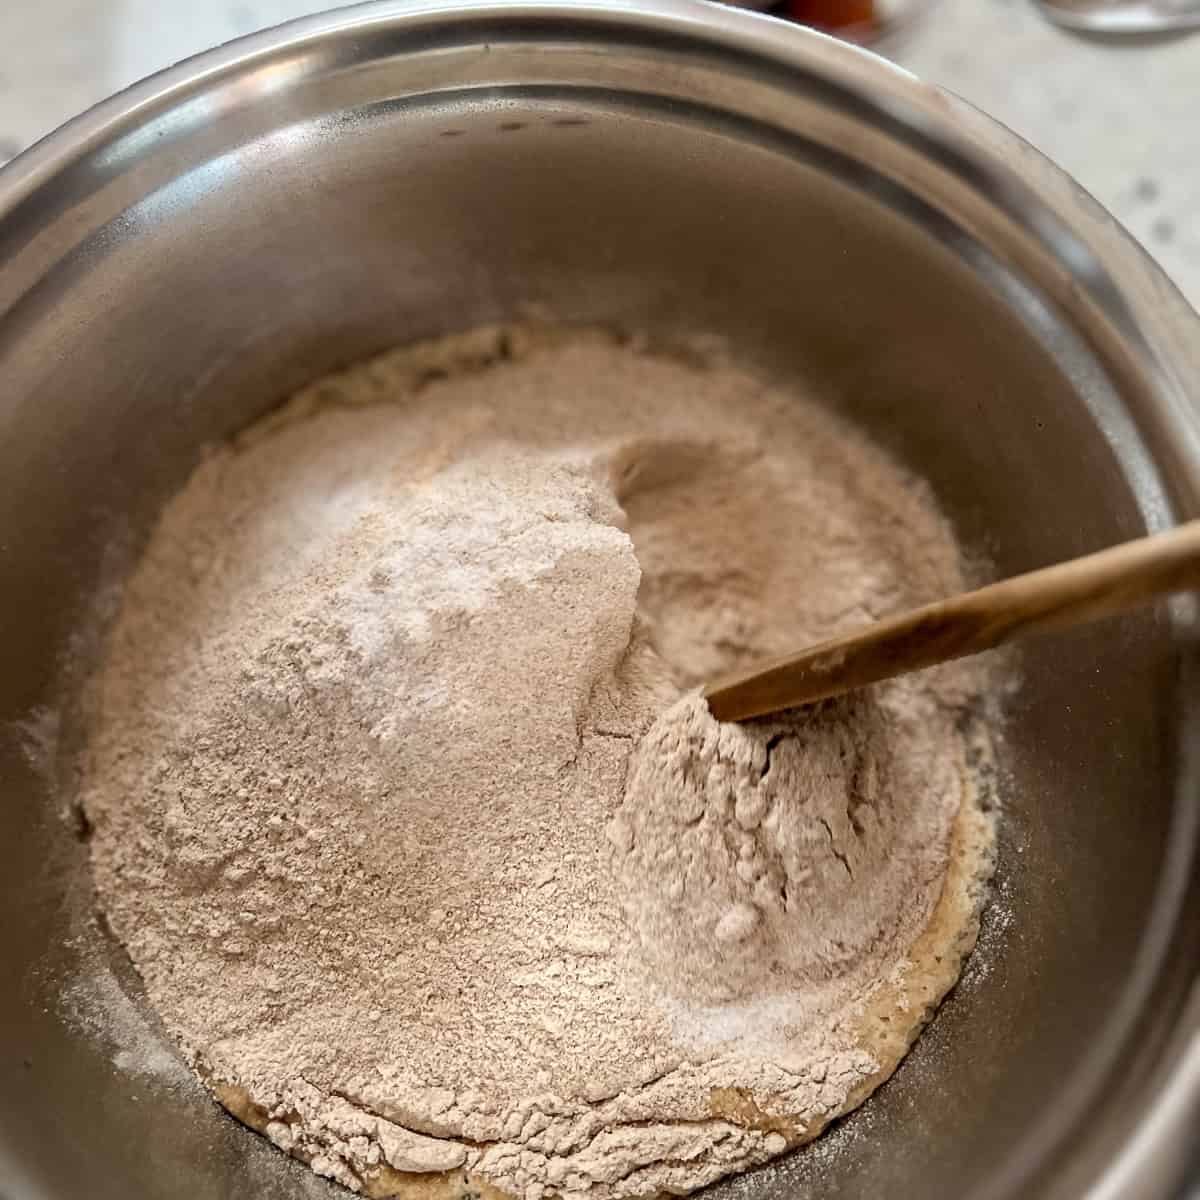
- Step 5: Use a wooden spoon (or another stiff spoon) to stir.
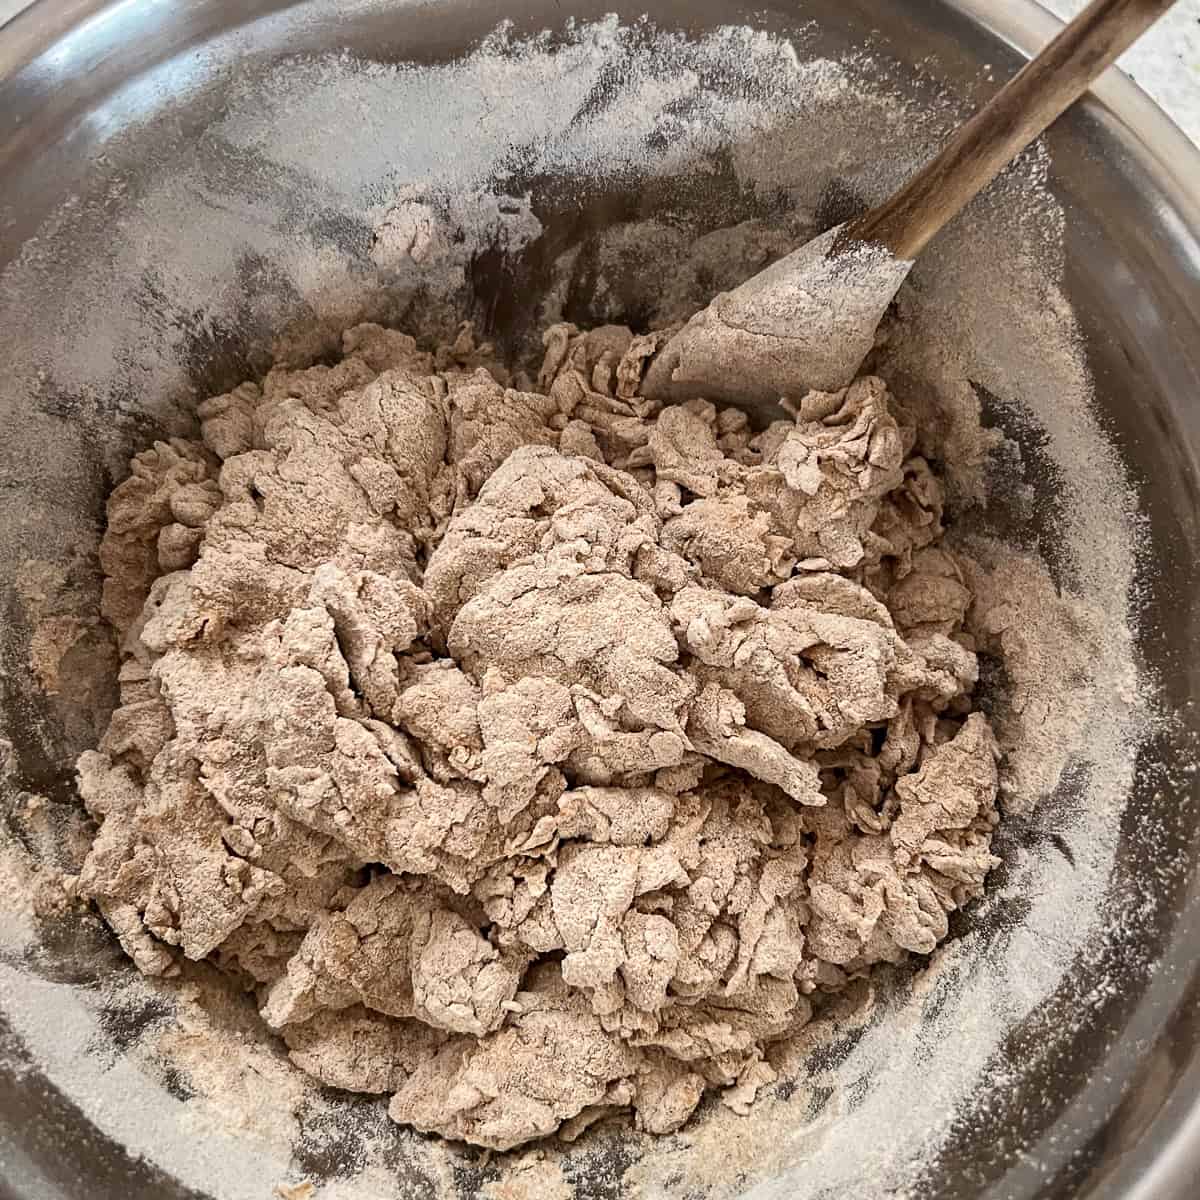
- Step 6: Stir to a shaggy dough consistency.
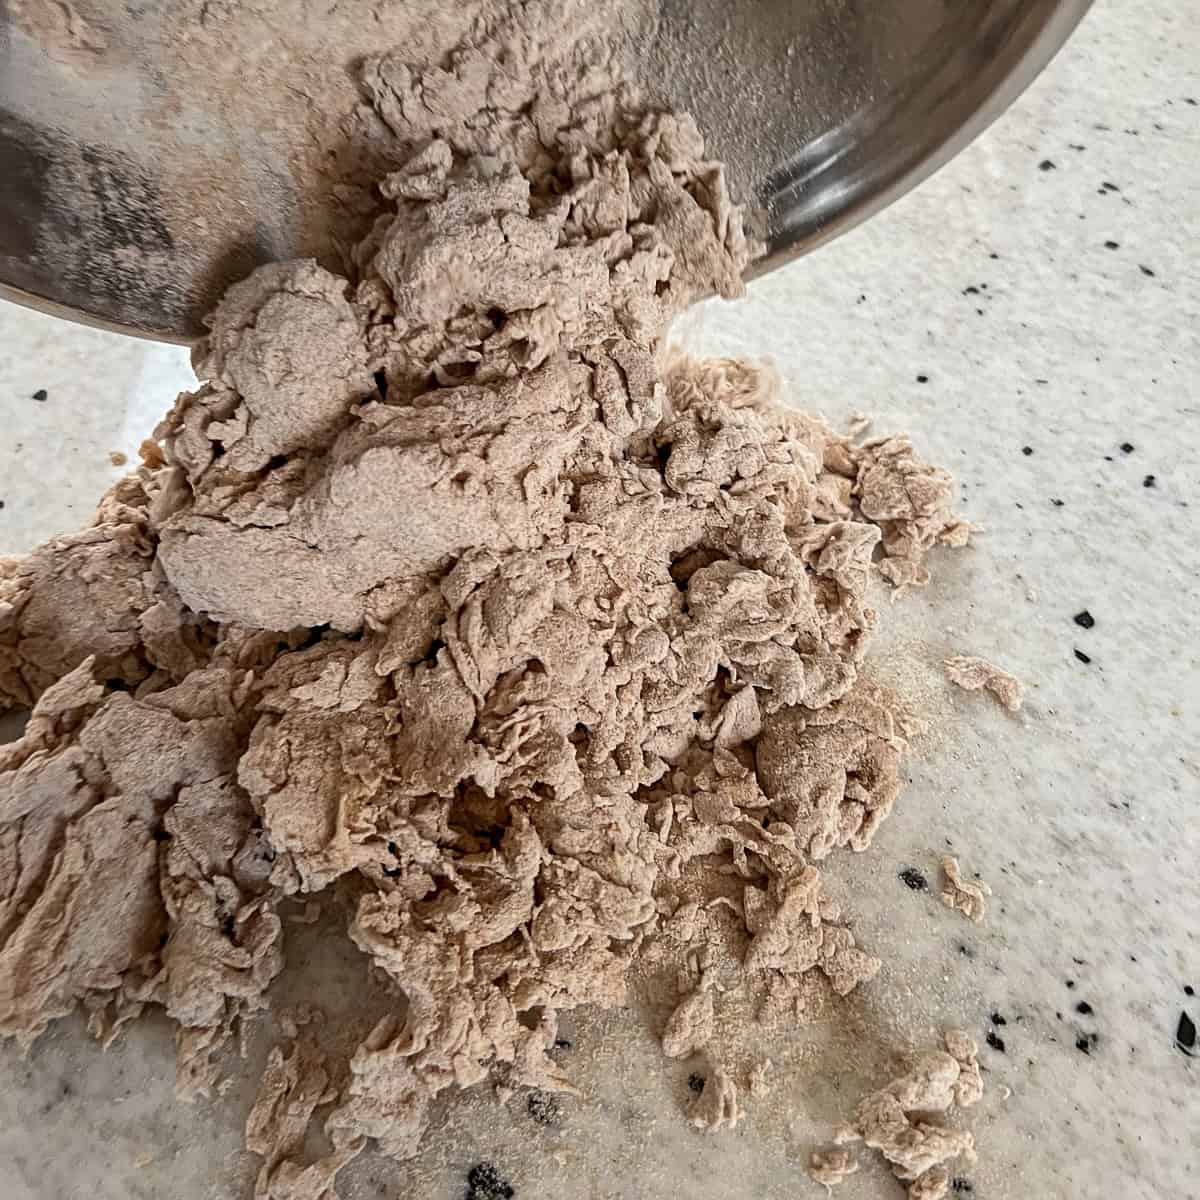
- Step 7: Dump the shaggy dough mixture onto a smooth, clean surface.
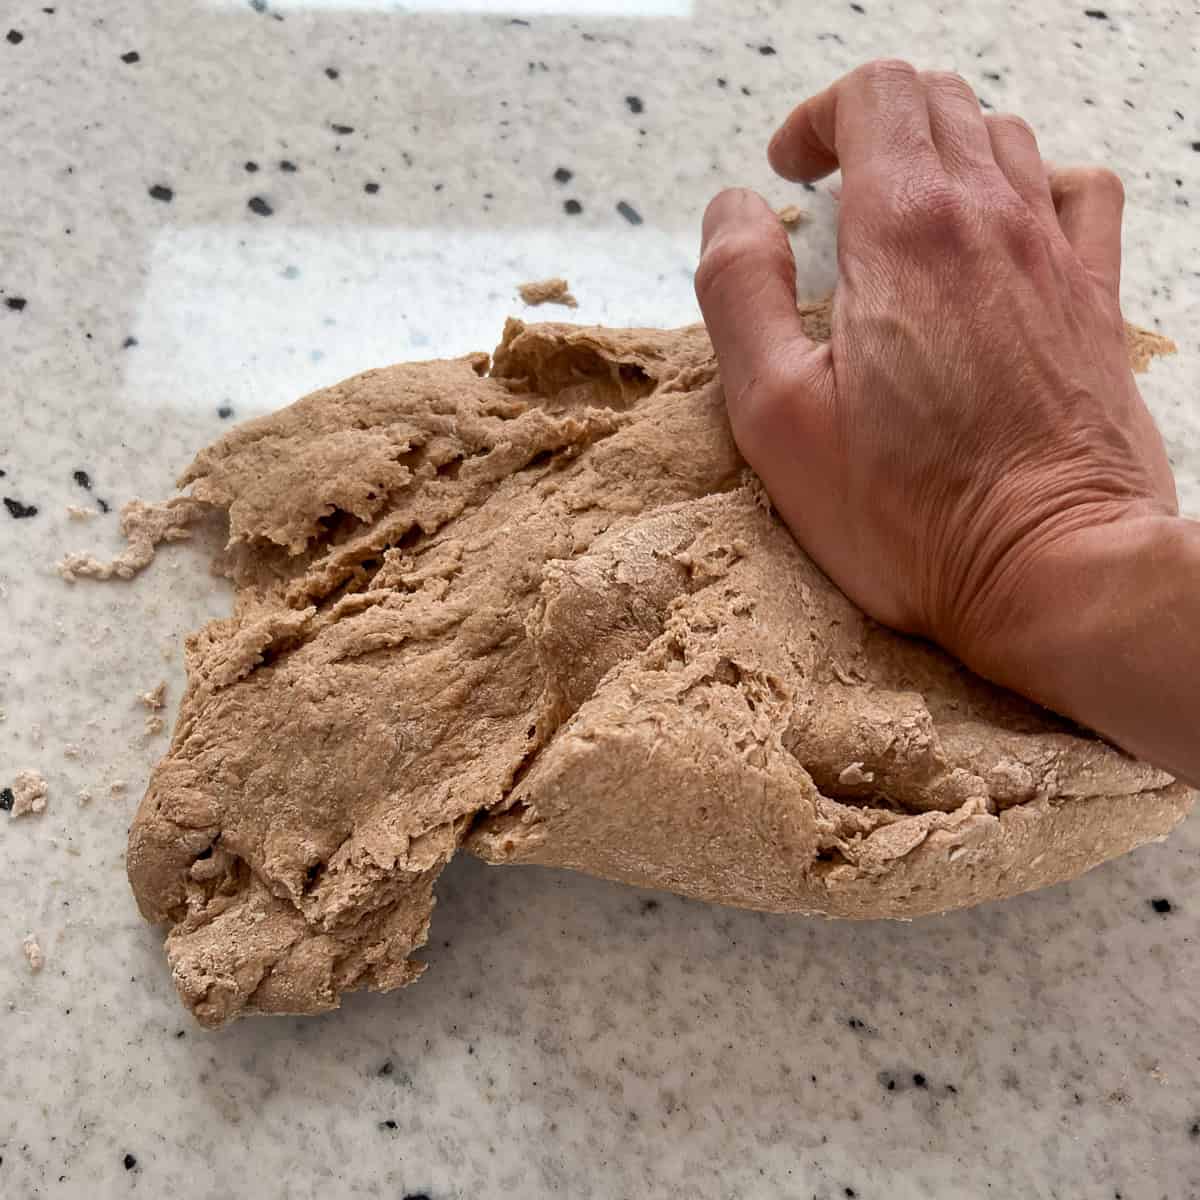
- Step 8: Use your hands to knead the dough for about 6 to 7 minutes. The dough will be stiff, so you'll need to put some muscle into it to work it. Use the palm of your hand and push the dough away from you in a rocking motion, alternating hands as you go.
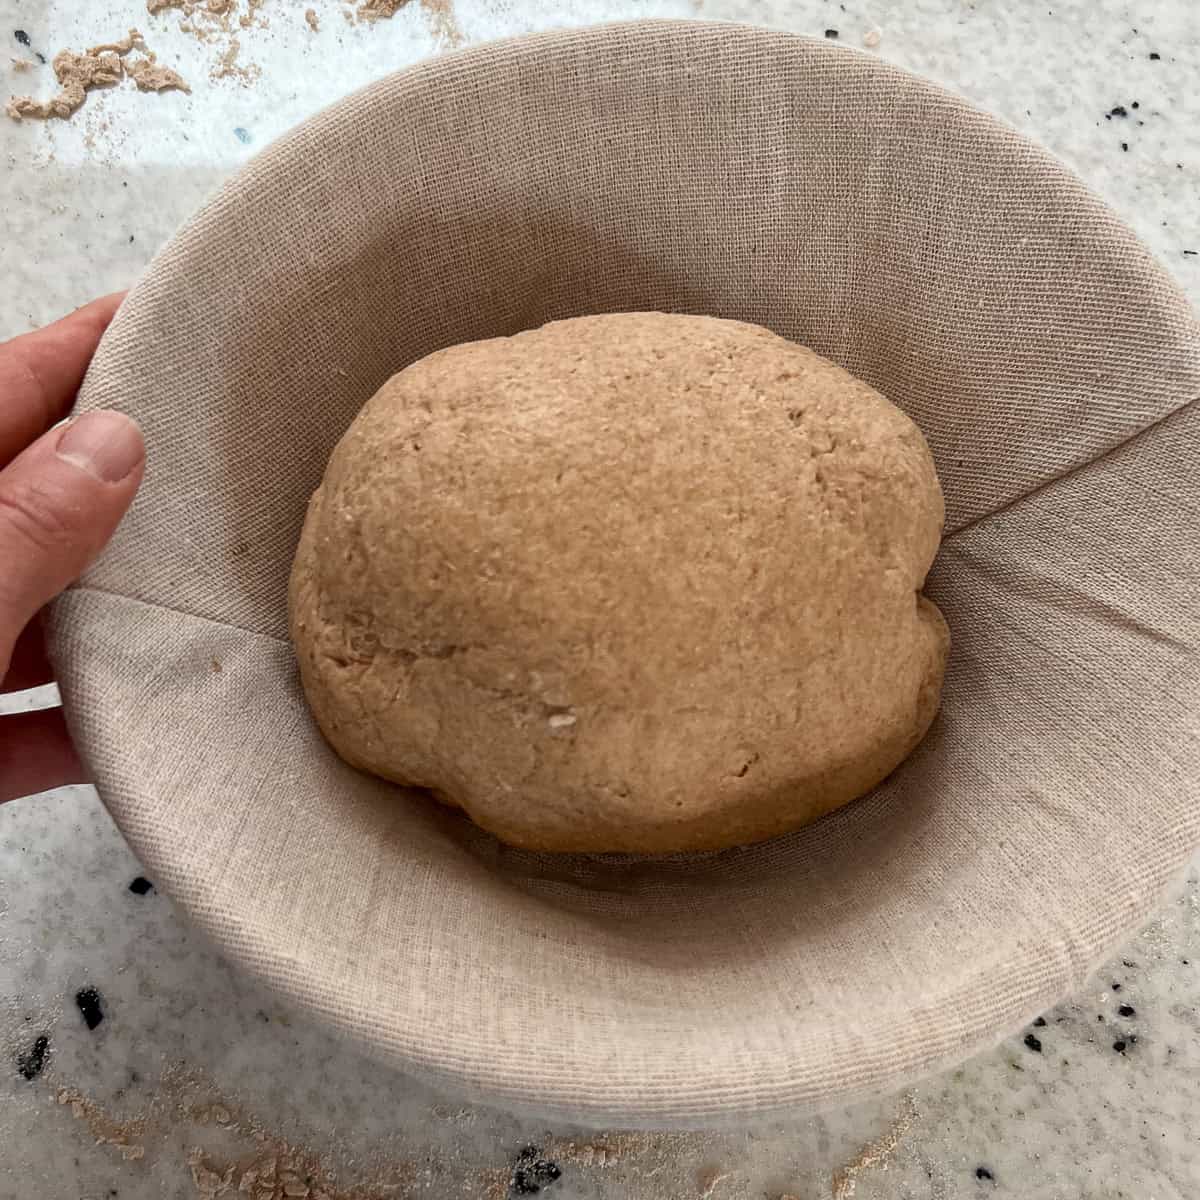
- Step 9: Form a tight ball and put the dough into a bowl for proofing.
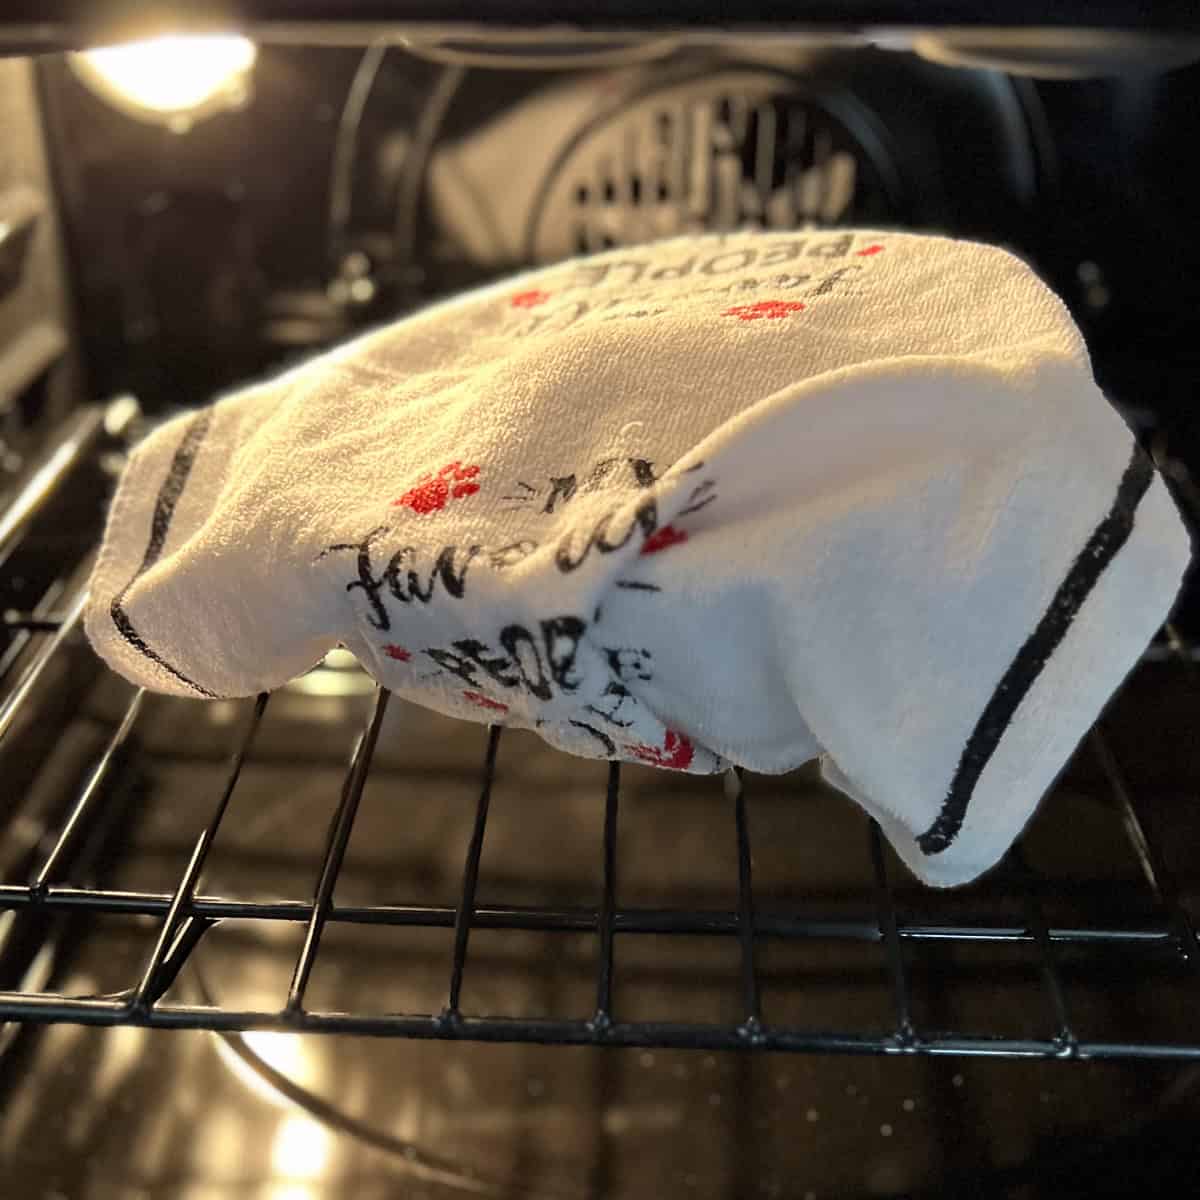
- Step 10: Proof the dough (between 70-85°F or 21-30°C) or in the oven with just the oven light on for one hour.
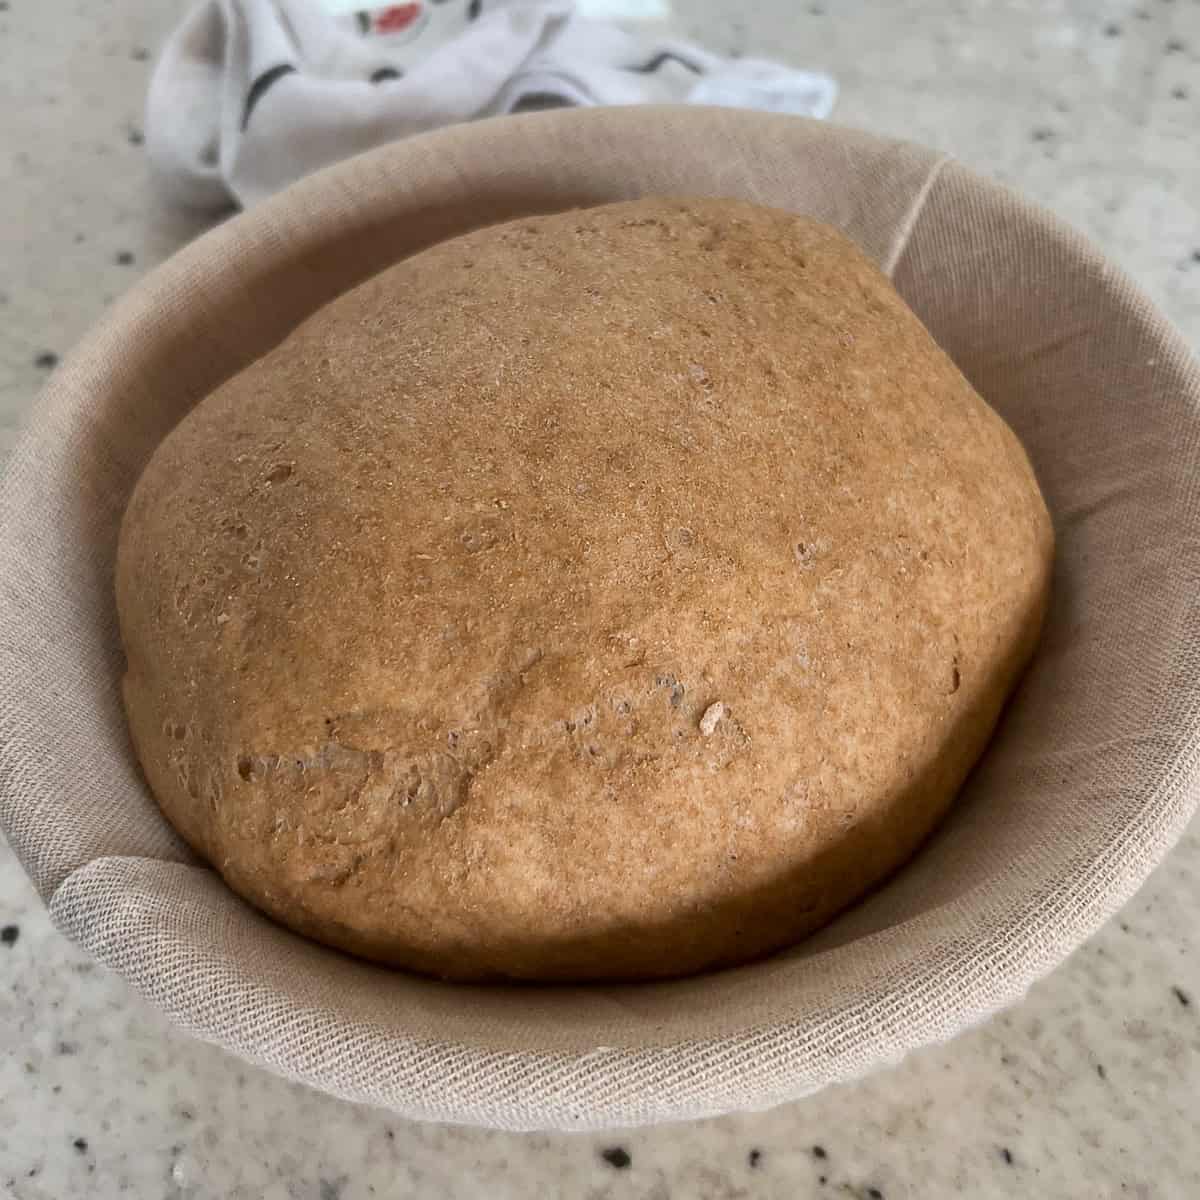
- Step 11: The dough should double in size.
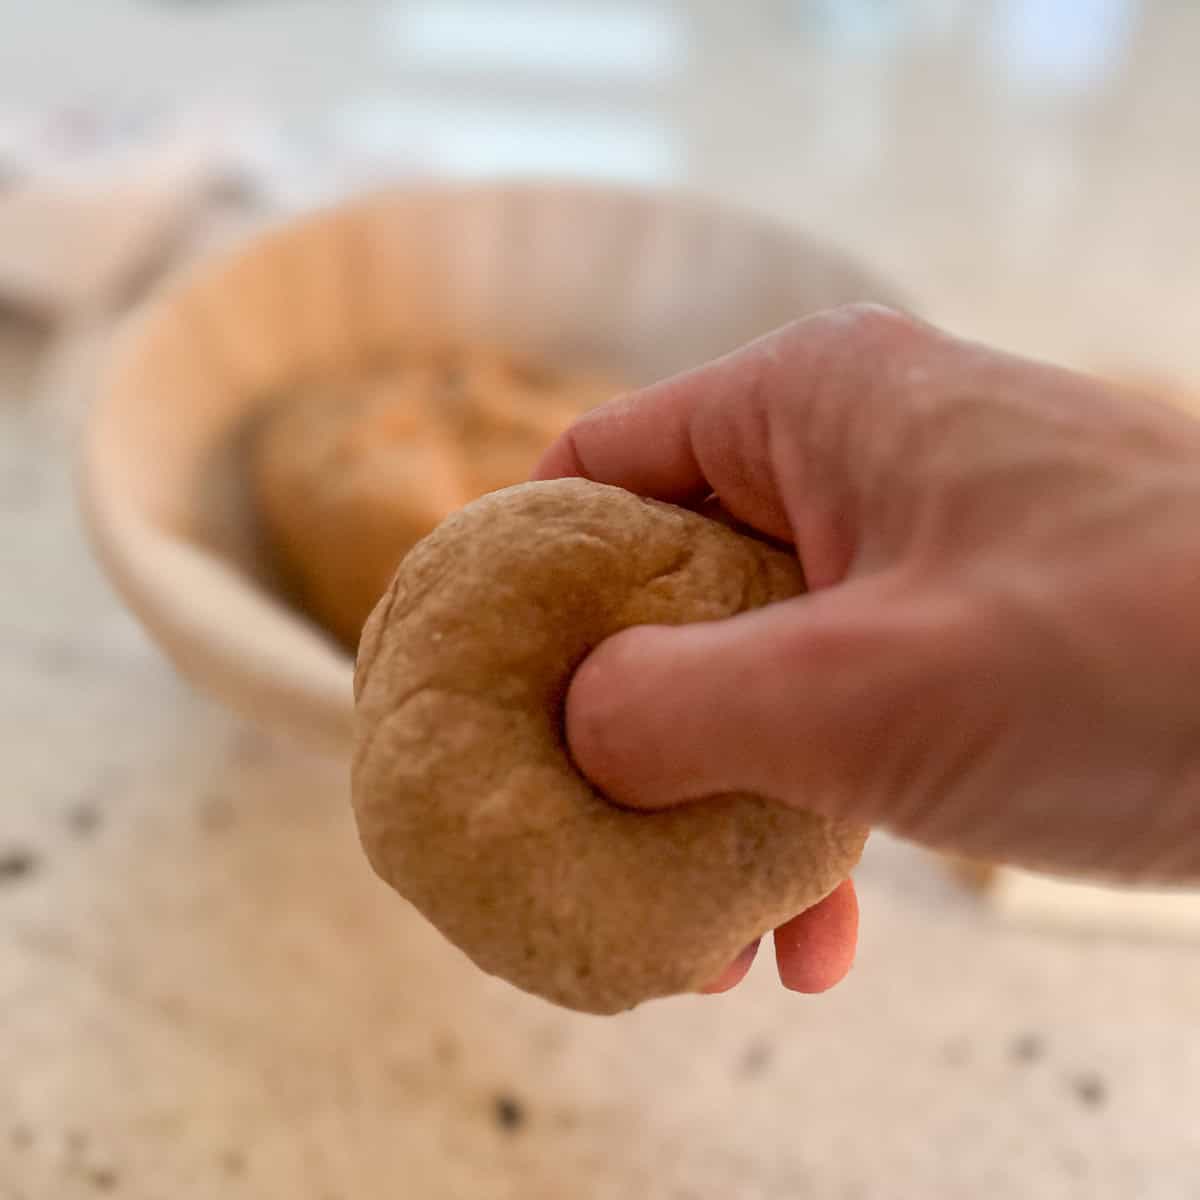
- Step 12: Divide the dough into 8 equal portions. Roll into a ball and use your thumb to poke a hole in the center. Gently stretch the dough into a bagel shape, ensuring the center hole is about 1 inch in diameter. This hole will shrink slightly during boiling and baking.
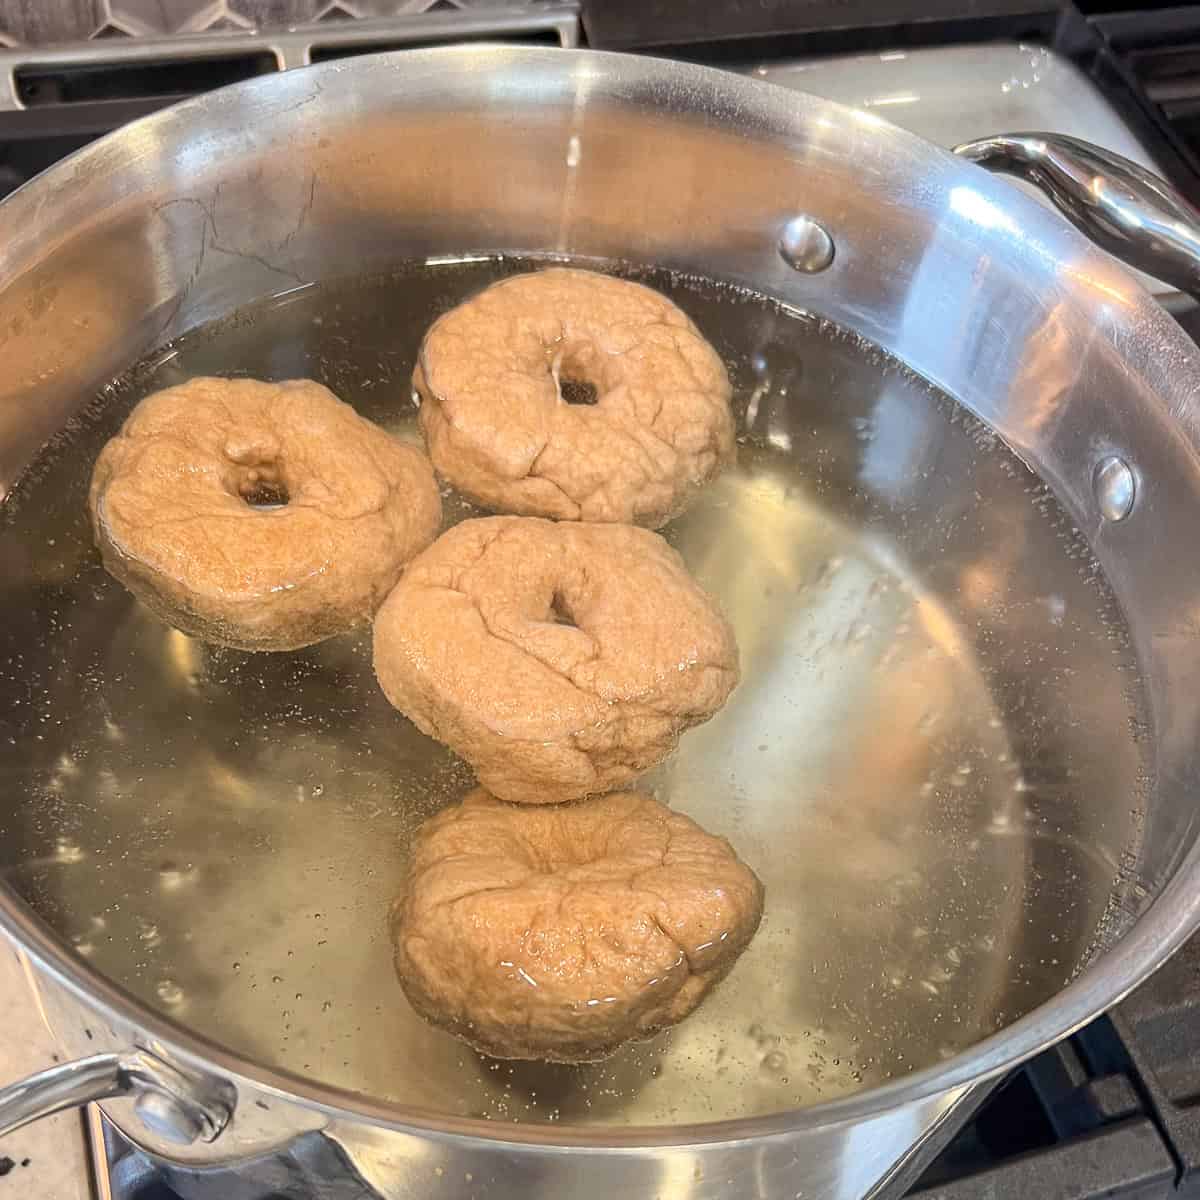
- Step 13: Preheat your oven to 425°F (220°C). While the oven is preheating, boil the bagels. Bring a large pot of water to a boil. Add 3 tablespoons of pure maple syrup to the boiling water for added flavor and shine. Gently drop the bagels into the boiling water, a few at a time, and boil for about 1 minute on each side. Use a slotted spatula or spoon to turn the bagels over. This boiling step is what gives bagels their signature chewy texture and shiny crust.
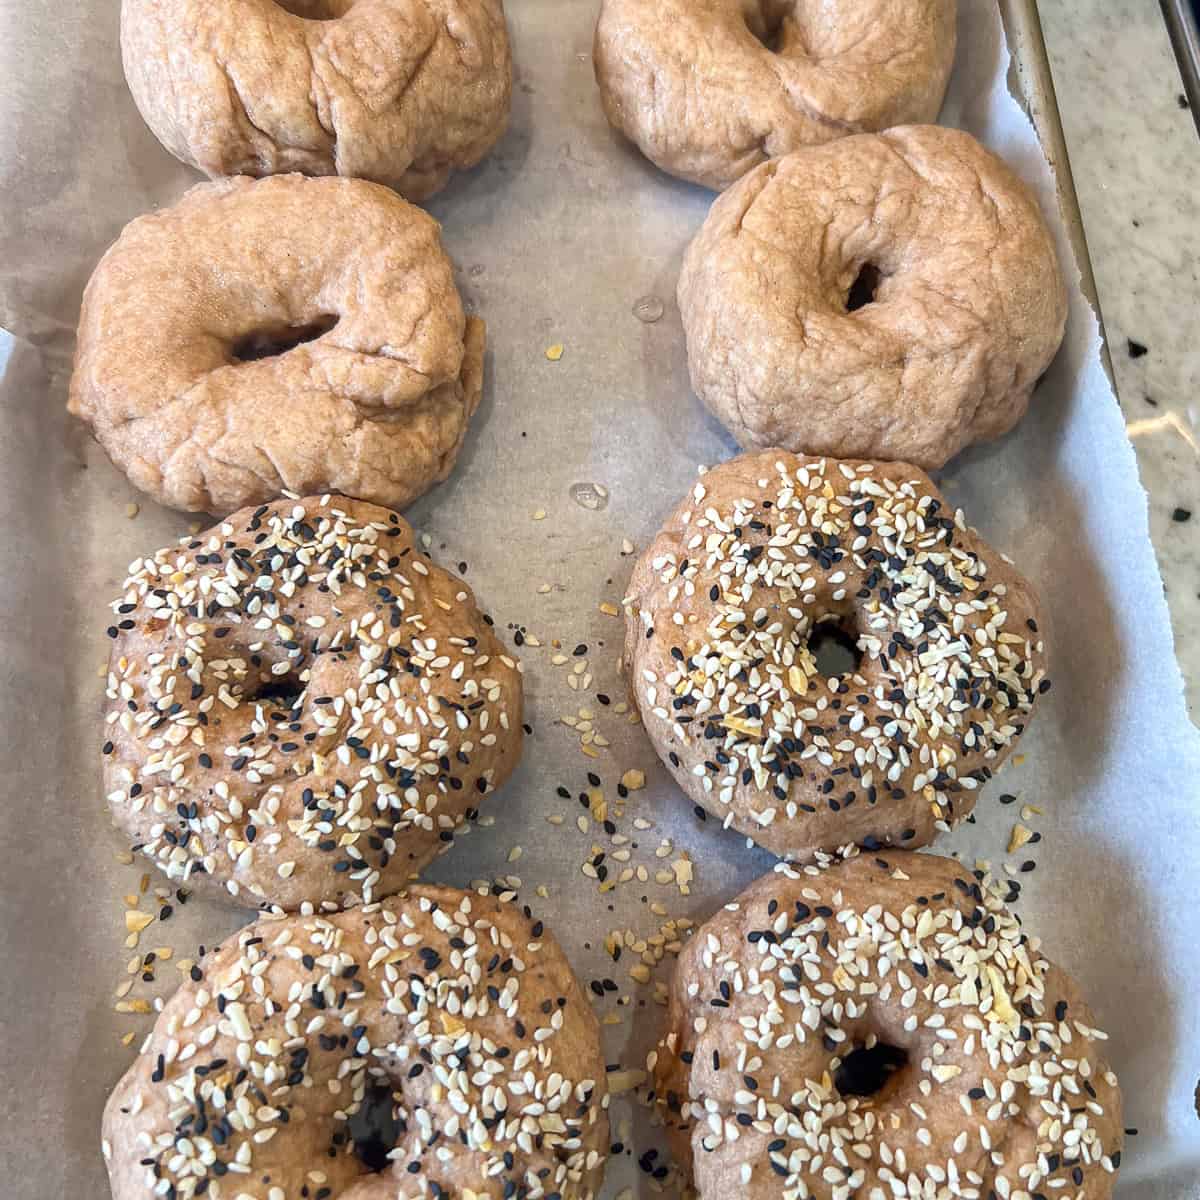
- Step 14: When the bagels are done boiling, arrange them on a parchment-lined baking sheet. Immediately add everything bagel seasoning (if using) and gently press the seeds into the dough to help them stick to the bagels.
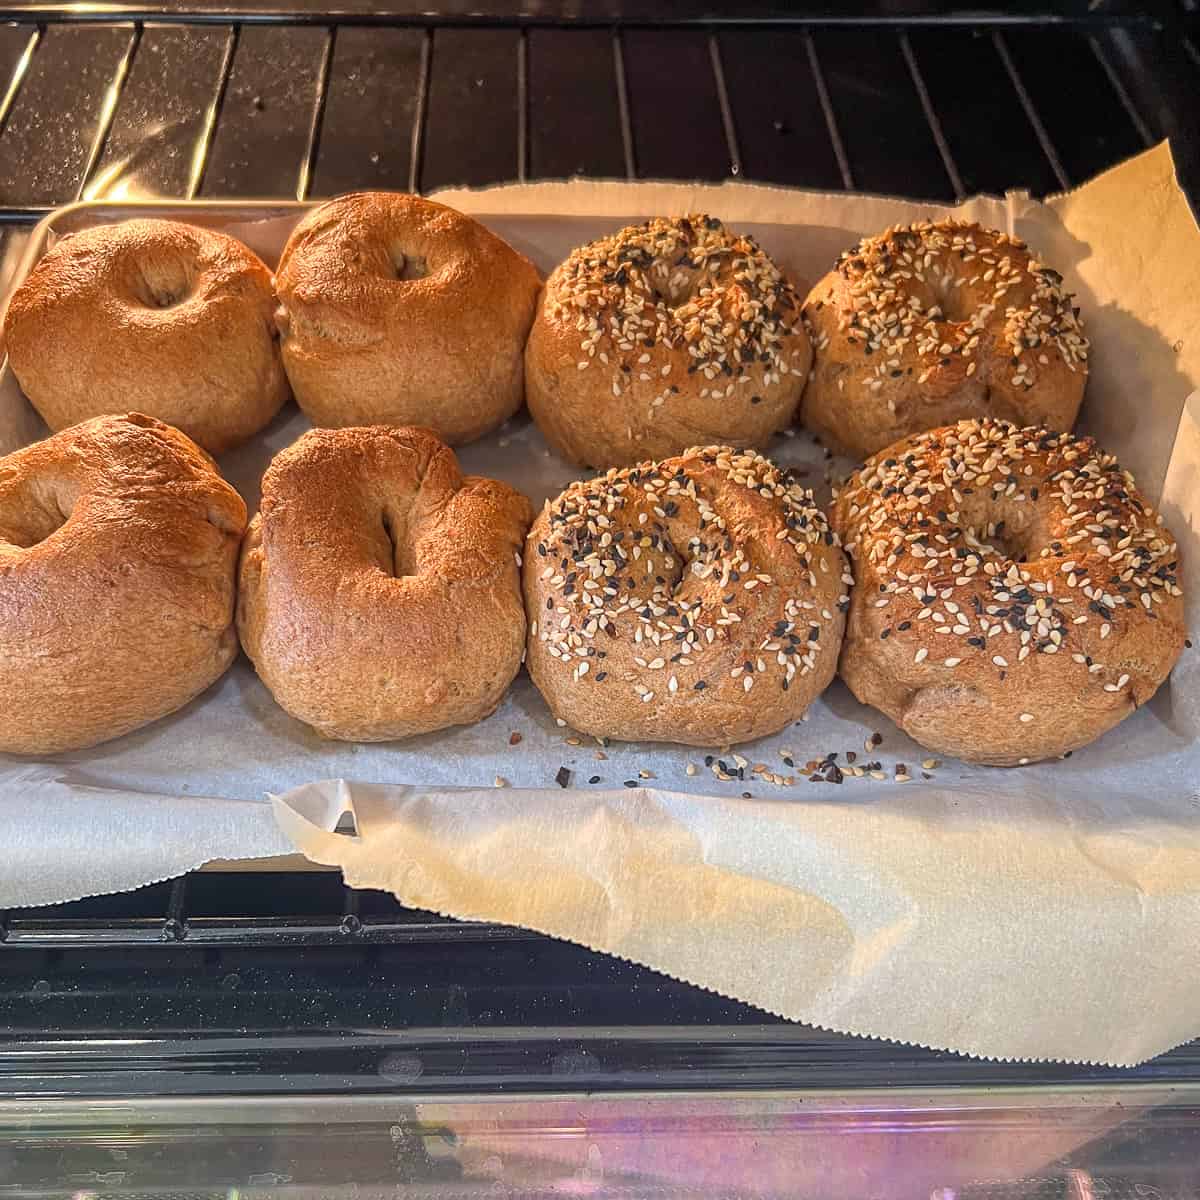
- Step 15: Bake the bagels in a preheated 425°F (220°C) oven for 25 minutes or until lightly golden brown. Remove from the oven and let them cool for about 10 minutes or to room temperature before serving.
Expert Tips
- Using Fresh Yeast: For the best results, ensure your yeast is fresh and active. If it doesn’t foam up during the activation step, it may be expired, and you should start with a new packet.
- Kneading: Proper kneading is crucial for developing the gluten structure that gives bagels their chewiness. Don’t rush this step; a well-kneaded dough will feel smooth and elastic.
- Boiling: Don’t skip the boiling step, as it’s key to achieving the right texture. Boiling also helps the bagels hold their shape during baking.
- Storage: If you're not planning to eat these bagels the same day you bake them, I recommend slicing the bagels in half and freezing them in an airtight container or freezer bag. Because these bagels have no added fat or preservatives, they will dry out faster than highly processed store-bought bagels. They can be toasted directly from frozen, making them a great meal prep option.
SAVE THIS RECIPE!
We'll also send you other yummy recipes. No worries! You can unsubscribe at any time. 💙
Serving Suggestions
There are several ways to enjoy these delicious and healthy whole wheat bagels.
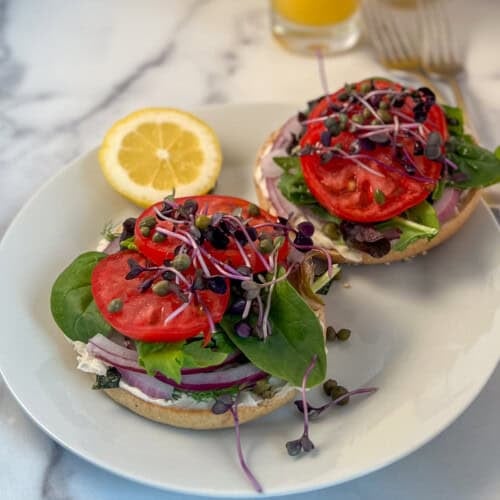
You can simply toast the bagel and spread some savory homemade cashew-based vegan cream cheese on it, then top it with fresh herbs like dill, chives, or parsley. Be sure to check out our Garden Veggie Bagel for more fresh-veggie topping ideas.
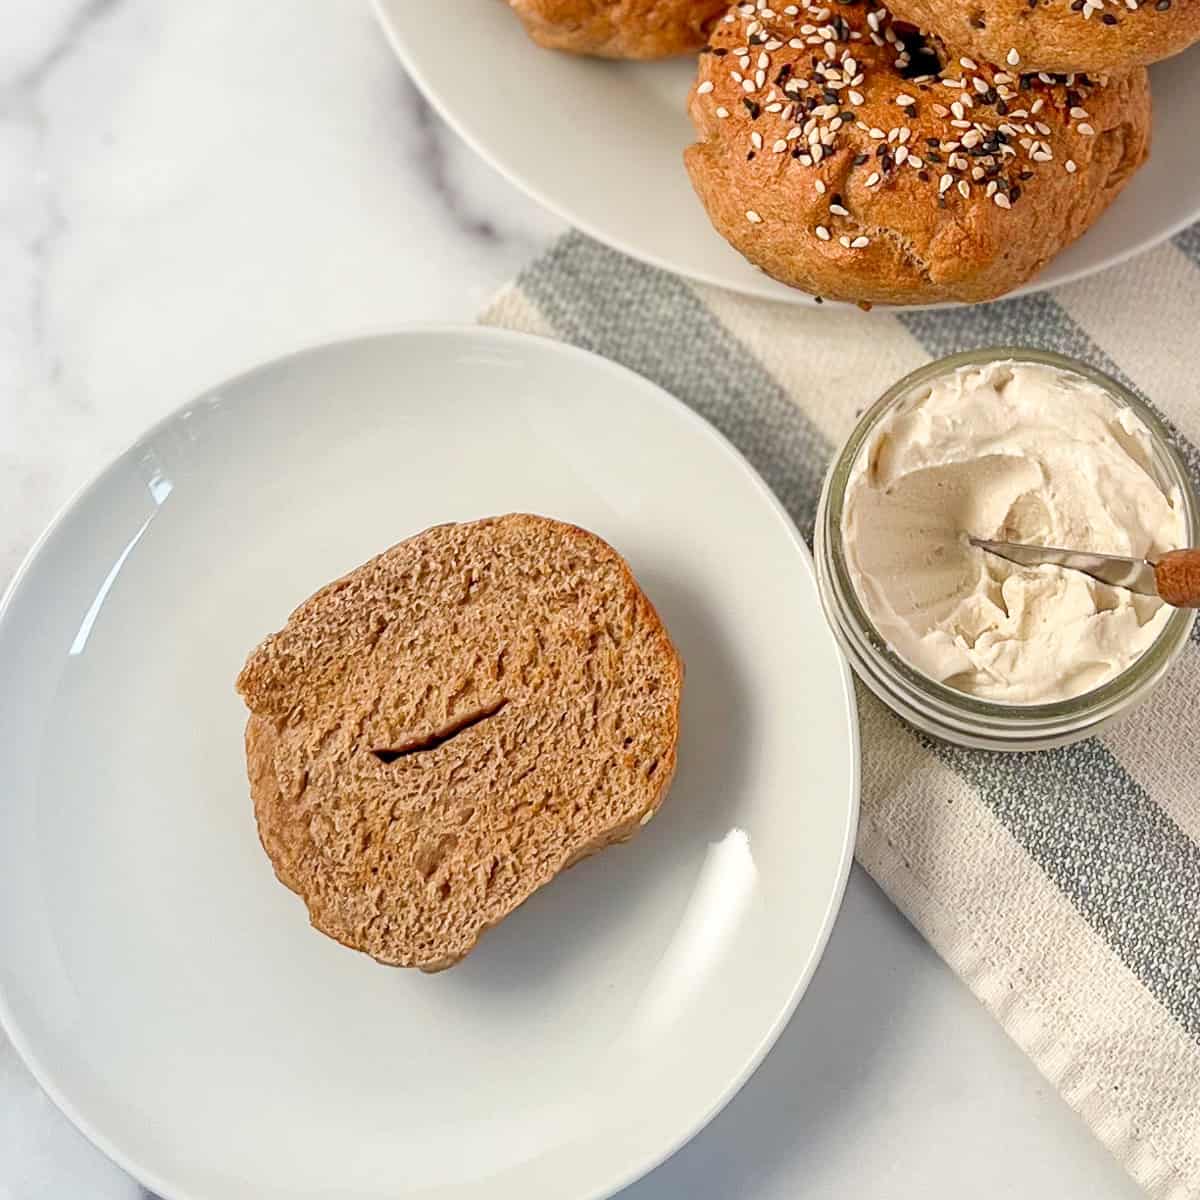
Make it nutty! Spread almond butter, peanut butter, or cashew butter on your toasted bagel, then top it with fresh-sliced bananas or berries.
You can also spread some savory, creamy butter bean hummus, black-eyed peas hummus, or classic garlicky hummus on a toasted bagel with fresh veggies for a mid-day snack.
If you love avocado, you can also enjoy this bagel by spreading a thick layer of smashed avocado and sprinkling a pinch of everything bagel seasoning on top. Yum!
These bagels are delicious when dipped in some of our hearty soups, like our white bean and kale soup, mushroom barley soup, or vegan chicken soup.
Homemade Whole Wheat Bagels Recipe FAQ
These whole wheat bagels are healthier than store-bought because they are made with 100% whole wheat flour that does not contain potassium bromate. Check out this article to learn more about the health risks of potassium bromate flour found in some commercially prepared baked goods. Bob's Red Mill flour does not contain potassium bromate. In addition, good quality whole wheat flour is high in B vitamins, magnesium, zinc, and iron.
I have found that slicing and putting them into individual freezer-safe bags is the best method for meal-prepping these bagels. They're easy to pull out of the freezer and pop in the toaster when you're ready to enjoy them.
Yes, these whole wheat bagels can be a part of a healthy whole food, plant-based nutrition plan that can help you lose and maintain a healthy weight. Eating a variety of whole plant foods helps you get the most diversity of nutrients and fosters a healthy gut. Check out this article about eating 30 different plants a week.
Unless you plan to enjoy these bagels the day they are baked, slice them in half and freeze them in an airtight container or freezer-safe bag. Since they contain no added fat or preservatives, they may dry out more quickly than highly processed store-bought bagels. Toast them straight from the freezer for a quick and convenient meal prep option.
Making your own whole wheat bagels at home is a rewarding and delicious way to enjoy a healthier version of this beloved breakfast staple. With just a few simple ingredients and a bit of patience, you’ll have fresh, tasty bagels that are perfect for any meal. Plus, knowing exactly what goes into your bagels ensures you’re making a nutritious choice for you and your family.
Related Recipes to Check Out

If you tried this or any other recipe on our website, please leave a 🌟 star rating and let us know how it went in the 📝 comments below! We appreciate your feedback for improvement.

Whole Wheat Bagels
Ingredients
- 1 ½ cups warm water about 110 F or 43 C
- 1 Tablespoon pure maple syrup for the dough + 3 Tablespoons pure maple syrup for the boiling water
- 2 ½ teaspoons active dry yeast
- 4 cups whole wheat flour I used Bob's Red Mill Stoneground 100% whole wheat flour
- 1 teaspoon salt
- 1 to 2 Tablespoons of no salt added everything bagel seasoning
Instructions
Prepare the Dough
- In a large mixing bowl, combine the warm water and maple syrup. Stir in the yeast and let it sit for 10 minutes until it becomes frothy. This step is crucial as it activates the yeast, ensuring your bagels rise properly. If the mixture isn't frothy, your yeast is stale. You'll need to discard and re-do this step with fresh yeast.
- Add the whole wheat flour and salt and mix with a wooden or other stiff spoon to form a shaggy dough.
- Dump the dough mixture onto a smooth, clean surface and knead for 6 to 7 minutes. The dough will be stiff, so you'll need some muscles to work the dough. Use the palm of your hand and push the dough away from you in a rocking motion, alternating hands as you go.
Let the Dough Rise
- After you've formed a tight ball, return the dough to the mixing bowl, cover it with a clean tea towel, and put it in the oven with just the oven light on to proof for one hour. This creates the right temperature for the dough to rise.
Shape the Bagels
- After the dough has risen, remove it from the oven. Divide the dough into 8 equal portions. Roll each portion into a ball, then use your thumb to poke a hole through the center of each ball.
- Gently stretch the dough to form a bagel shape, making sure the hole in the center is about 1 inch in diameter. This hole will shrink slightly during boiling and baking.
Cook the Bagels
- Preheat your oven to 425°F (220°C). While the oven is preheating, boil the bagels.
- Bring a large pot of water to a boil. Add 3 tablespoons of pure maple syrup to the boiling water for added flavor and shine. Gently drop the bagels into the boiling water, a few at a time, and boil for about 1 minute on each side. Use a slotted spatula or spoon to turn the bagels over. This boiling step is what gives bagels their signature chewy texture and shiny crust.
- When the bagels are done boiling, arrange them on a parchment-lined baking sheet. Immediately add everything bagel seasoning (if using) and gently press the seeds into the dough to help them stick to the bagels.
- Bake the bagels in a preheated 425°F (220°C) oven for 25 minutes or until lightly golden brown. Remove from the oven and let them cool for about 10 minutes or to room temperature before serving. Enjoy!
Notes
- Using Fresh Yeast: For the best results, ensure your yeast is fresh and active. If it doesn’t foam up during the activation step, it may be expired, and you should start with a new packet.
- Kneading: Proper kneading is crucial for developing the gluten structure that gives bagels their chewiness. Don’t rush this step; a well-kneaded dough will feel smooth and elastic.
- Boiling: Don’t skip the boiling step, as it’s key to achieving the right texture. Boiling also helps the bagels hold their shape during baking.
- Storage: If you're not planning to eat these bagels the same day you bake them, I recommend slicing the bagels in half and freezing them in an airtight container or freezer bag. Because these bagels have no added fat or preservatives, they will dry out faster than highly processed store-bought bagels. They can be toasted directly from frozen, making them a great meal prep option.




Natasha says
Great taste, very easy. Highly recommend it.
Natalia says
Great recipe, thank you. Highly recommended it.
Natasha says
Huge thank you, highly recommend it.
Gigi & Sersie says
Thank you, Natasha! We're so glad you liked them. 🙂
Natalia says
Thank you! Great recipe highly recommend it.
Gigi & Sersie says
Thank you, Natalia! We're so glad you enjoyed them. They freeze very well too! We have a cashew cream cheese and strawberry chia seed jam recipe that are nice additions to these bagels. 🙂
Gigi & Sersie says
Tasty and easy to make. Great for meal prep because they freeze well.