Hello, hummus lovers! Today, I’m thrilled to share my latest obsession: Black Eyed Peas Hummus. After experimenting with countless hummus recipes, this Black Eyed Peas Hummus has won my heart. It’s creamy, flavorful, and slightly different from your typical chickpea hummus. Trust me, once you try it, you’ll understand why it’s become my new go-to! This irresistible hummus is gluten-free, soy-free, nut-free, no oil, and vegan.
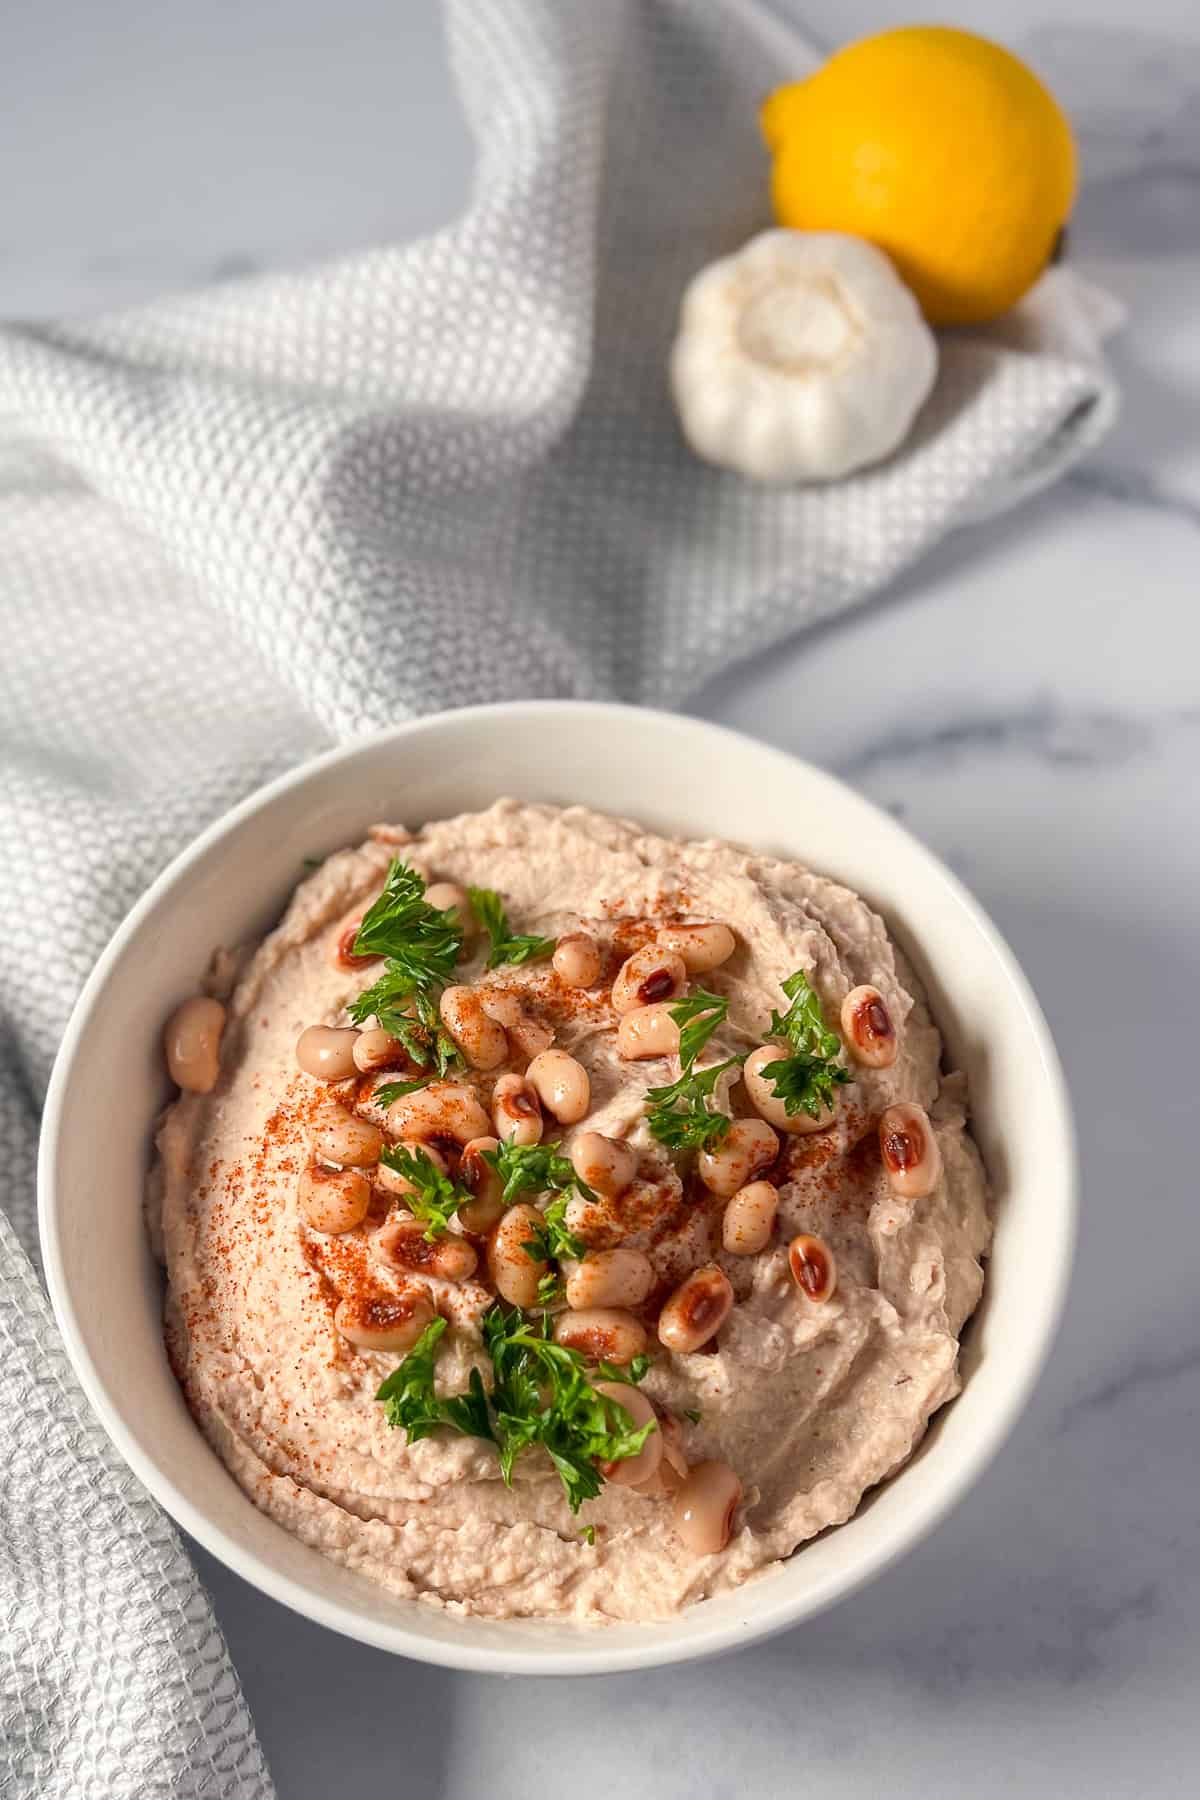
Don't get me wrong, our traditional garlic chickpea hummus is delish, but it's fun to mix things up. Other non-traditional hummus recipes include our smooth and creamy butter bean hummus and perfectly sweet chocolate hummus.
Why You'll Love This Black-Eyed Pea Hummus
- Unique spin on hummus: This recipe takes the classic hummus and gives it a delightful twist using black-eyed peas instead of chickpeas. The result? A unique, creamy dip with a subtle, nutty, and smoky flavor that’s just as versatile and satisfying as its more traditional cousin.
- High in Protein: Black-eyed peas are an excellent plant-based protein source, a healthy way to get your protein. Several studies show that plant-based protein is beneficial for heart health. If you're vibing on this legume, check out our sweet and smoky black-eyed peas and greens.
- Fiber: This hummus is a good source of dietary fiber, which supports digestive health. Eating a diversity of whole plant foods each week benefits your gut microbiome.
- Vitamins and Minerals: This black-eyed peas hummus is a rich source of micronutrients like folate, thiamin, zinc, copper, and iron.
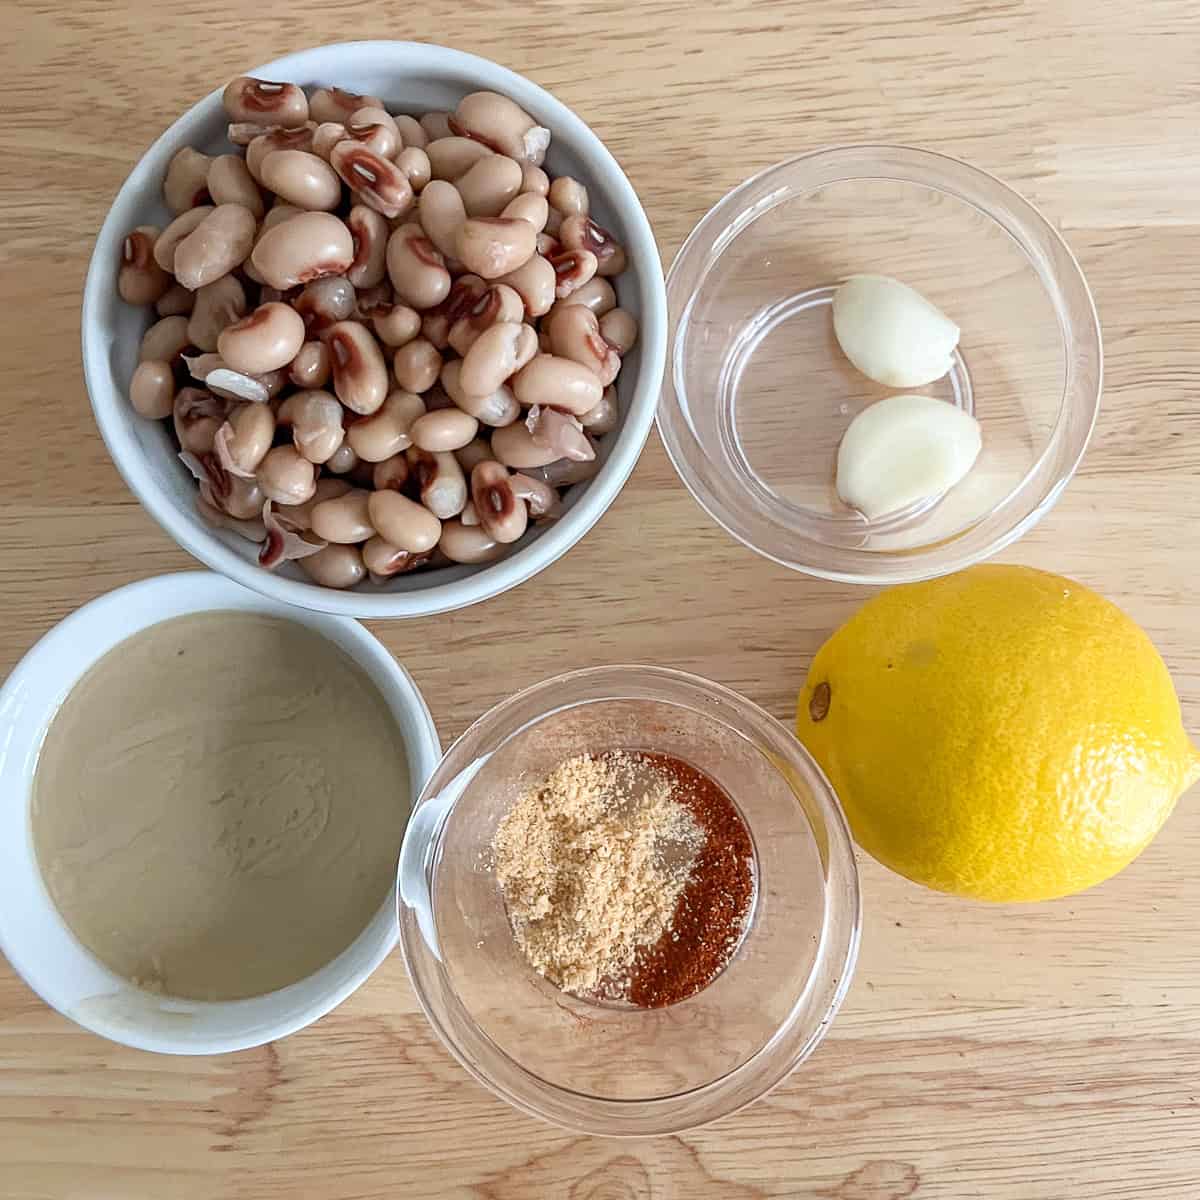
What's in this hummus recipe
- Black-eyed peas
- Garlic
- Lemon
- Tahini
- Smoked paprika
- Onion powder
- Fresh parsley (for topping)
This recipe also uses ice cubes to give this hummus a fluffy consistency.
How to prepare
- Prep the Black-Eyed Peas: If you're using canned black-eyed peas, reserve ¼ cup of the pea liquid, drain off the rest of the liquid and rinse the peas. If you're making black-eyed peas from scratch, measure out about 3 cups of cooked black-eyed peas and ¼ cup of the cooking water. If you want to use some loose beans for topping, set aside 1 to 2 tablespoons.
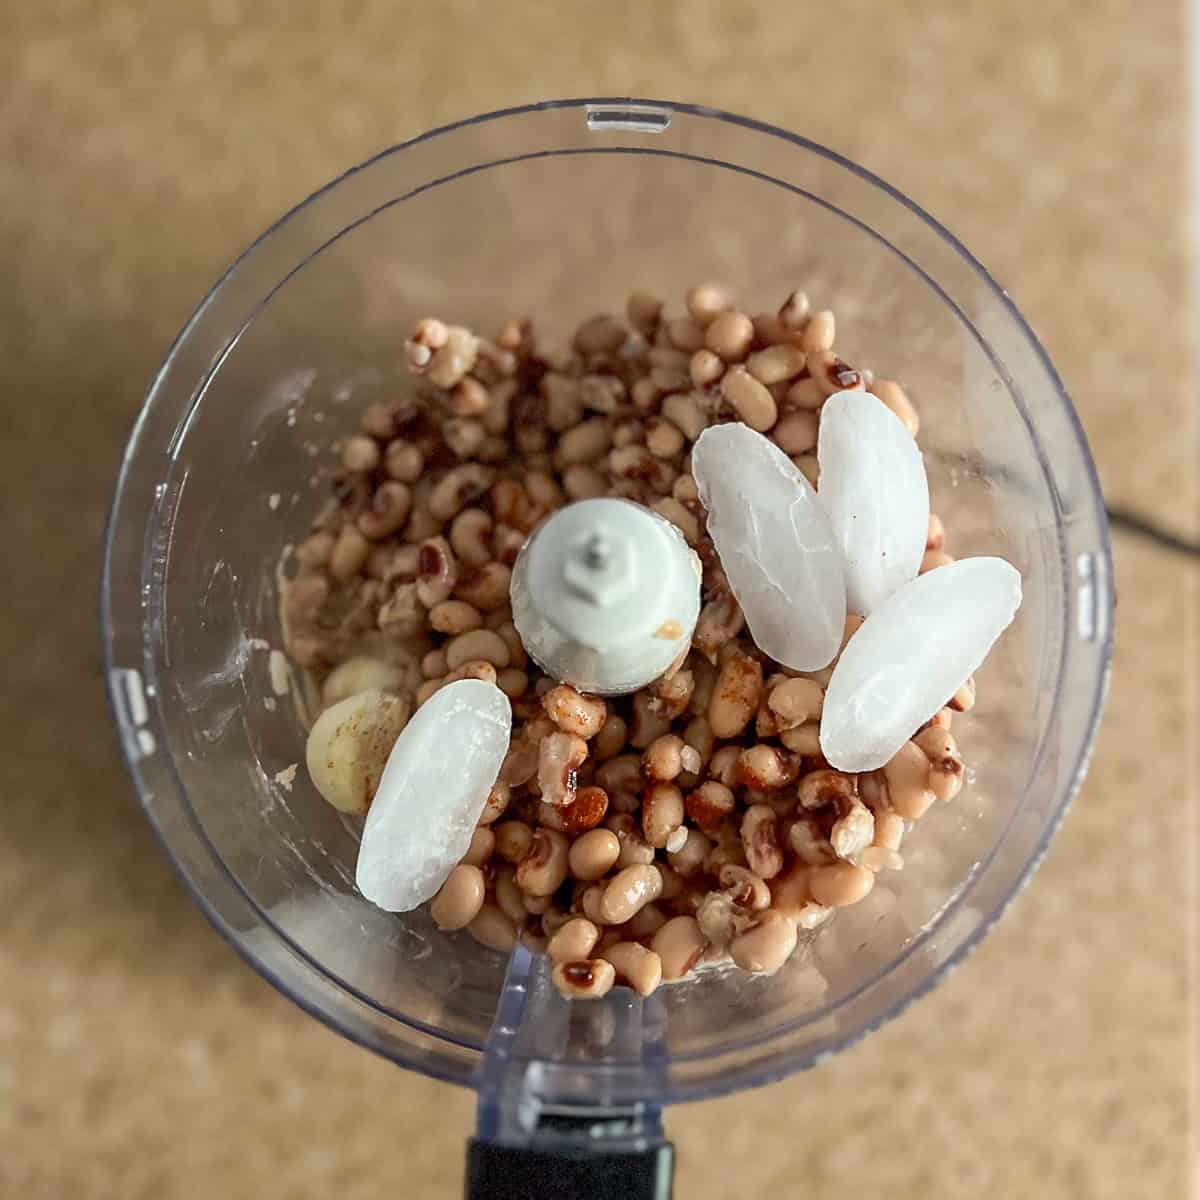
- Blend the Base: In a food processor, combine the cooked black-eyed peas, lemon juice, garlic, tahini, smoked paprika, onion powder, and ice cubes. Pulse until you achieve a smooth mixture.
- Adding Ice Cubes: The ice cubes will help achieve a lighter, fluffier texture.
- Adjust Consistency: Gradually add the pea liquid (or cooking water) while blending until you reach your desired consistency. Depending on how thick or creamy you like your hummus, you might need more or less water.
- Season and Taste: Add salt to taste. Blend again to ensure all the flavors are well incorporated.
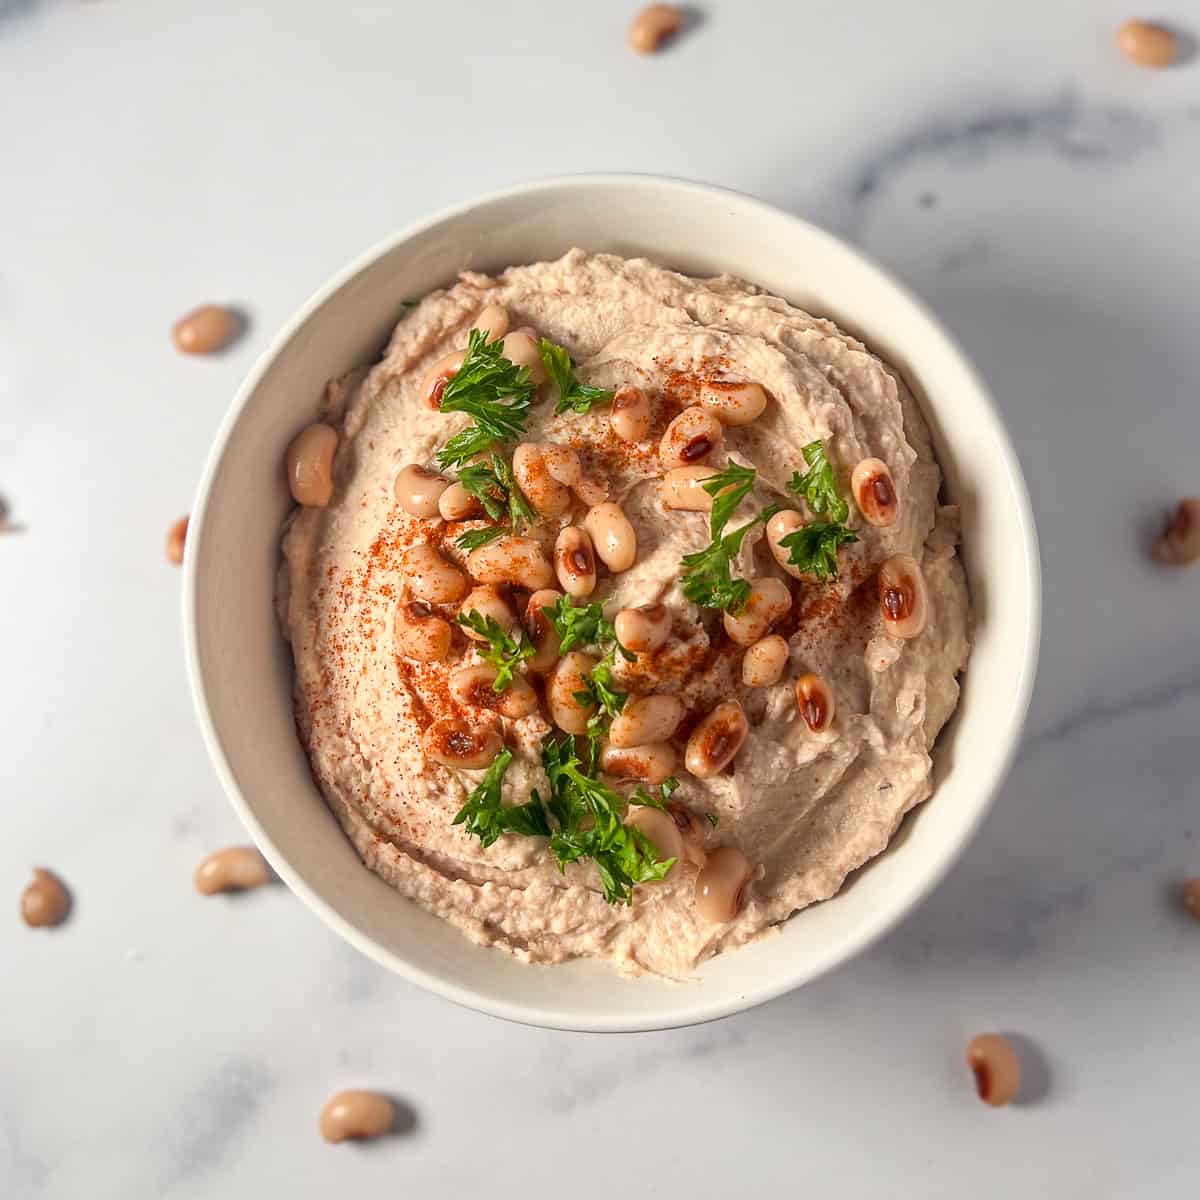
- Serve and Enjoy: Scoop the hummus into a serving bowl. Sprinkle with freshly chopped parsley and a few black-eyed peas, if using. Pair with oven-baked tortilla chips and fresh veggies, or use as a spread for sandwiches and wraps.

Tips for the Perfect Black-Eyed Pea Hummus
- Ice Cube Magic: The ice cubes might seem like an unusual addition, but they’re key to achieving that extra creamy texture.
- Garlic Intensity: Adjust the number of garlic cloves based on your preference. For a milder flavor, you can use one clove instead of two.
- Make Ahead: This hummus can be stored in an airtight container in the refrigerator for up to a week, making it a great option for meal prep.
Frequently Asked Questions
Can I use dried black-eyed peas instead of canned?
Yes, you can use dried black-eyed peas! If you’re using dried peas, you’ll need to soak and cook them first. Start by soaking the peas overnight or using the quick-soak method. Then, cook them in boiling water until tender, which usually takes about 30-45 minutes. Once cooked, measure out 3 cups of beans to use in the recipe. Check out our article on how to cook dried beans for more details.
How can I make this hummus spicier?
If you like a bit of heat, you can add a pinch of cayenne pepper or a dash of hot sauce to the hummus. Adjust the amount to your taste preference and blend well to incorporate the spices.
What's the purpose of adding ice cubes to hummus?
Adding ice cubes makes the hummus extra creamy and smooth. The ice adds air and moisture while helping to cool the mixture during processing (or blending), resulting in a light and fluffy texture. It’s a little trick that elevates the creaminess of the hummus.
Can I make this hummus ahead of time?
Absolutely! This black-eyed peas hummus can be made in advance and stored in an airtight container in the refrigerator for up to a week. It’s perfect for meal prep and can be enjoyed as a quick snack or appetizer throughout the week.
Can I freeze black-eyed pea hummus?
Yes, you can freeze hummus! Place it in an airtight container and freeze for up to 3 months. To thaw, transfer it to the refrigerator overnight. Give it a good stir before serving, as the texture might change slightly after freezing.
How do I store leftover hummus?
Store leftover hummus in an airtight container in the refrigerator. It will keep well for up to a week. To maintain freshness, make sure the container is sealed tightly to prevent the hummus from oxidizing or drying out.
What can I serve with black-eyed pea hummus?
Black-eyed pea hummus is incredibly versatile! Serve it with oven-baked tortilla chips, pita chips, fresh vegetables (carrots, cucumbers, bell peppers), or spread it on sandwiches and wraps. It also pairs well as a topping for salads and grain bowls.
Why is my hummus not as smooth as I’d like?
If your hummus isn’t as smooth as you’d like, try blending it a bit longer. You can also add a little more water or ice cubes to help achieve a creamier texture. If you’re using a food processor, make sure it’s powerful enough to blend the ingredients thoroughly.
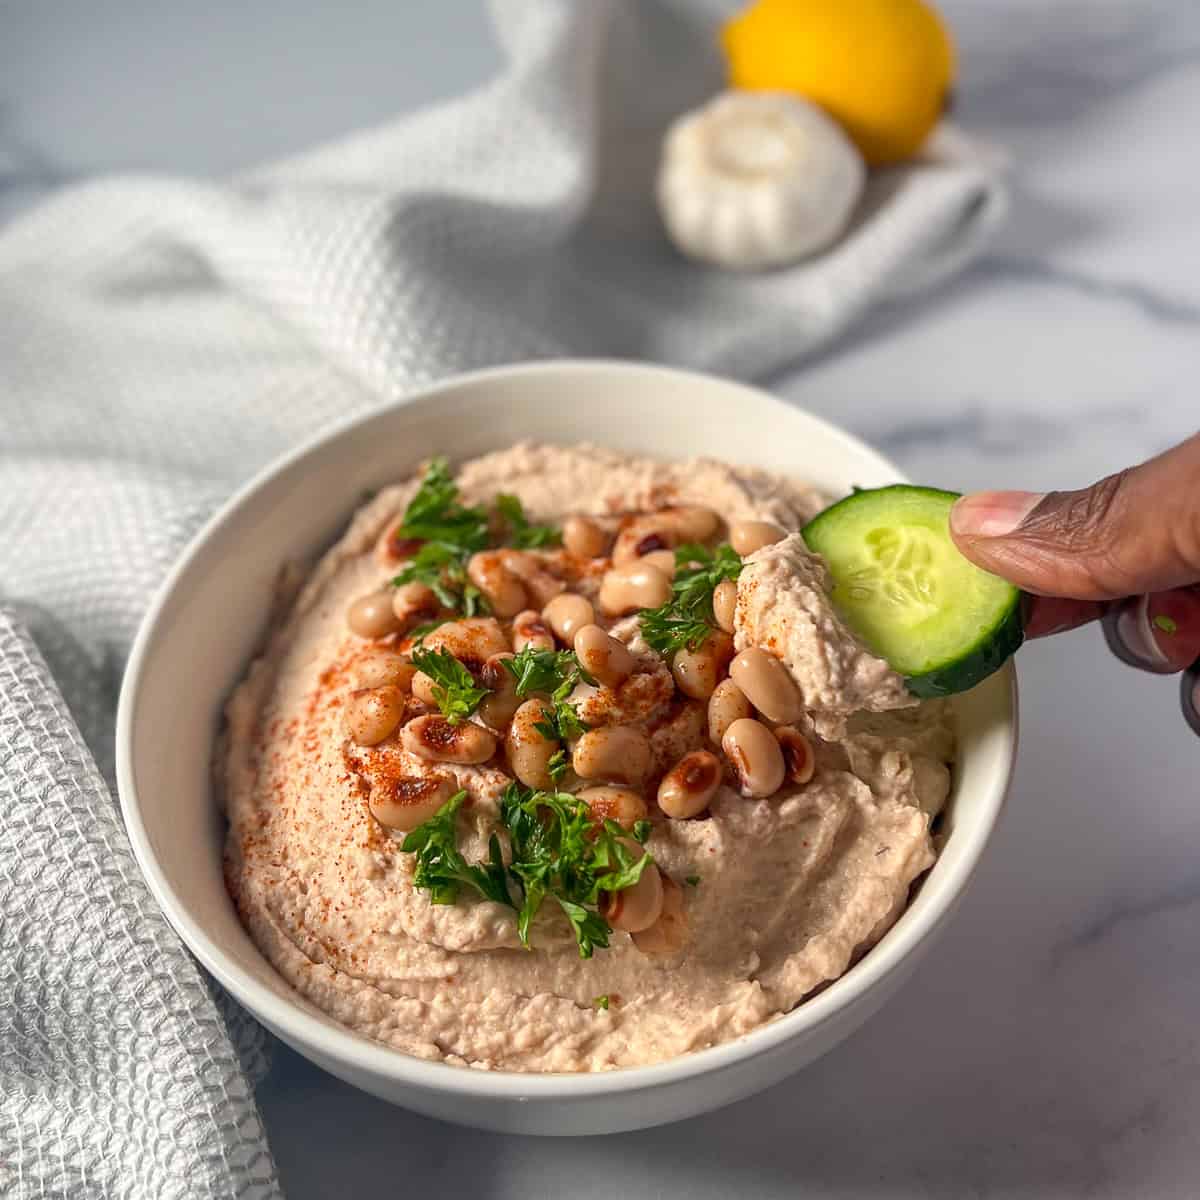
Black-eyed peas offer a fresh twist on hummus. Their flavor profile perfectly balances tangy lemon juice, smoky paprika, and aromatic garlic.
So, there you have it—a flavorful, creamy, and utterly delicious black-eyed pea hummus that’s sure to become your new favorite. Give it a try, and let us know if it becomes a staple in your kitchen, too!
Give us a follow on IG @danielsplaterecipes. Happy blending and tasting!
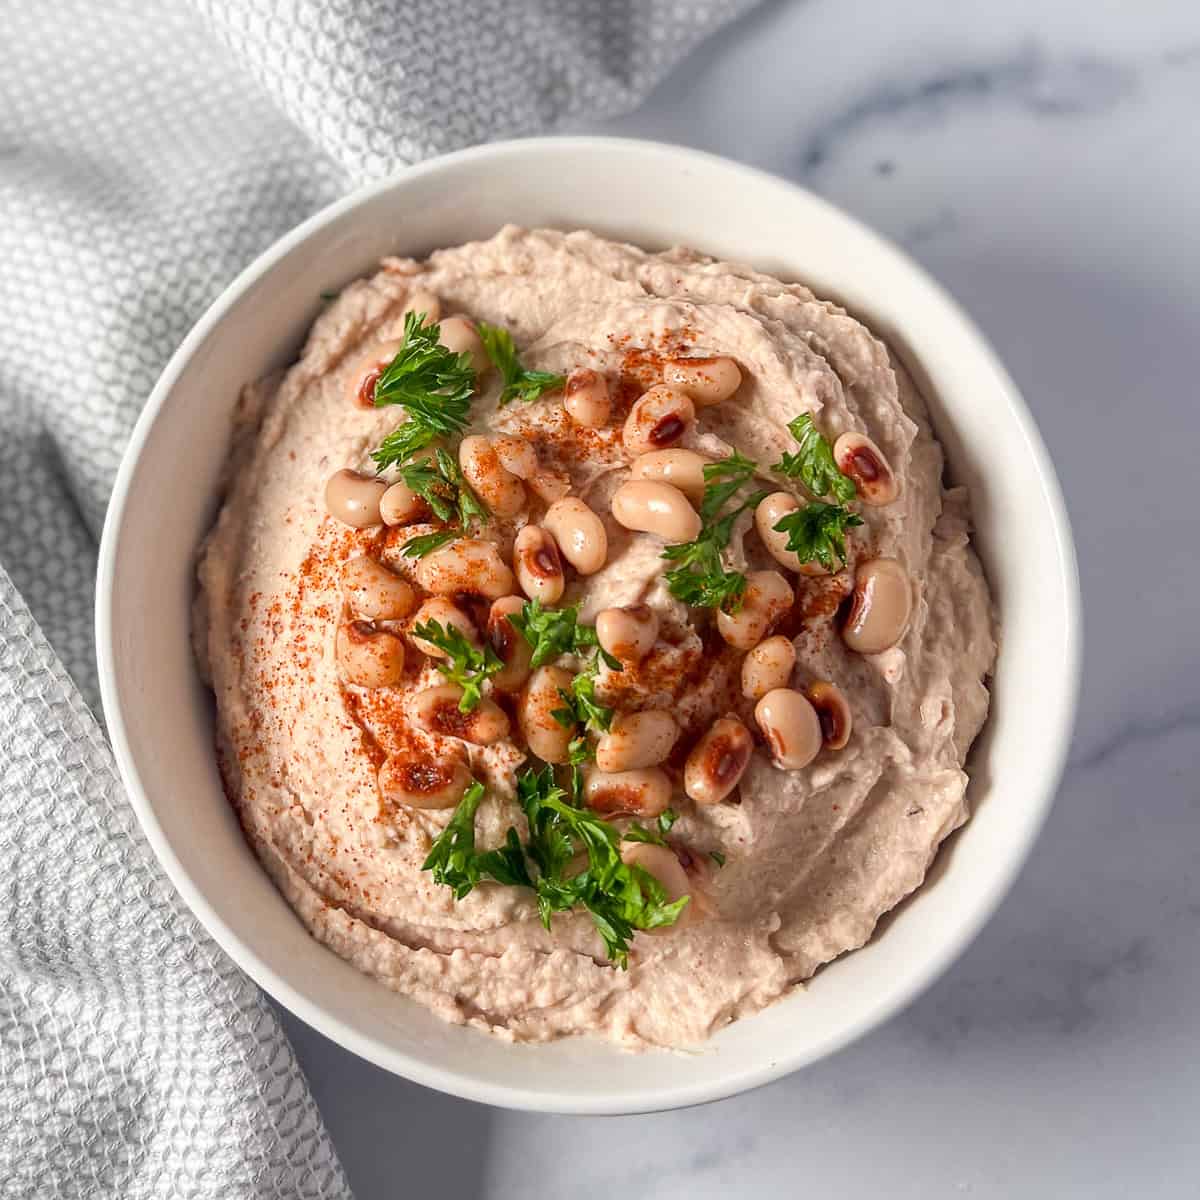
Black Eyed Peas Hummus
Ingredients
- 2 15- ounce cans black-eyed peas low sodium or no salt added
- ¼ cup of reserved liquid (aquafaba) - the cooking liquid from the canned (or scratch-made) black-eyed peas
- 3 Tablespoons fresh lemon juice
- 2 cloves garlic
- ⅓ cup tahini
- ½ teaspoon smoked paprika
- ½ teaspoon onion powder
- 3 to 5 ice cubes
- Salt to taste
- 2 Tablespoons fresh chopped parsley for topping
Instructions
- Prep the Black-Eyed Peas: If you're using canned black-eyed peas, reserve ¼ cup of the pea liquid, drain off the rest of the liquid and rinse the peas. If you're making black-eyed peas from scratch, measure out about 3 cups of cooked black-eyed peas and ¼ cup of the cooking water. If you want to use some loose beans for topping, set aside 1 to 2 tablespoons.
- Blend the Base: In a food processor, combine the cooked black-eyed peas, lemon juice, garlic, tahini, smoked paprika, onion powder, and ice cubes. Pulse until you achieve a smooth mixture.
- Adding Ice Cubes: The ice cubes will help achieve a lighter, fluffier texture.
- Adjust Consistency: Gradually add the pea liquid (or cooking water) while blending until you reach your desired consistency. Depending on how thick or creamy you like your hummus, you might need more or less water.
- Season and Taste: Add salt to taste. Blend again to ensure all the flavors are well incorporated.
- Serve and Enjoy: Scoop the hummus into a serving bowl. Sprinkle with freshly chopped parsley and a few black-eyed peas, if using. Pair with oven-baked tortilla chips and fresh veggies, or use as a spread for sandwiches and wraps.
- Leftovers: Store leftovers in an airtight container in the refrigerator for up to a week.
Notes
EQUIPMENT / SUPPLIES
- Measuring cup
- Measuring spoons
- Knife
- Cutting board
- Food processor or blender


Sadat
My favorite hummus to date, the creaminess and smokiness of the black eye peas is epic!